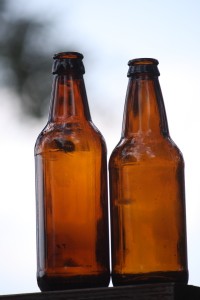
Since moving to New Mexico, homebrewing has taken a back seat to everything else.
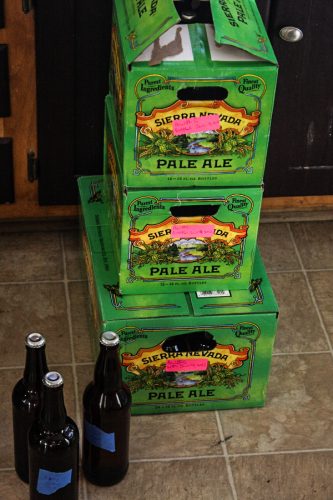
12 packs and 24 packs, recycled, were the best way to store the brew.

I have 15 gallons of cider (in three separate batches) hanging out against one wall in my kitchen, a big bottle of iodopher sitting in my cabinet and a bunch of bottles sitting outside, behind a shed. I even have lactose and corn sugar to get those batches bottled. (I haven’t reinvested in a capper yet).

Unfortunately, with no dish washer to easily sanitize my bottles, I end up putting bottling off time after time after time.

However, when I did have access to a dishwasher, before I moved to kegging (which I cannot recommend enough) and I had friends to consistently drink and brew with, having enough brew on hand was a big issue.

Once we three started brewing, we quickly realized that we liked what we were making, that what we were making took a long time (relatively) and that we needed to be making loads right now for our future selves to have enough to imbibe.

(On another point, if you’re not kegging, getting enough bottles is definitely an issue. Fortunately, when I was living in Reno, there was separated curb side recycling.)

Another of our concerns, as broke young people, was how to maximize our dollars in comparison to our brews. That is, beer is great, but beer can be relatively more expensive to brew, so what about cider?

Cider was easy. Cider was super easy. Cider required less effort and took much easier to get 5-gallon buckets (rather than 6-gallon buckets).
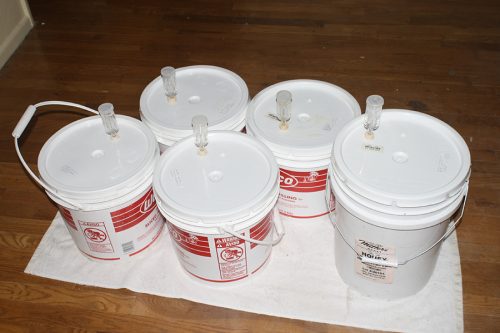
20 gallons of cider in four 4-gallon buckets and one 5-gallon bucket.

So we started making cider, realized we loved it, then had a problem. There was no more cider left. Between ourselves, our friends, the people who lived in the house, the first five gallons of cider were gone in a heartbeat.
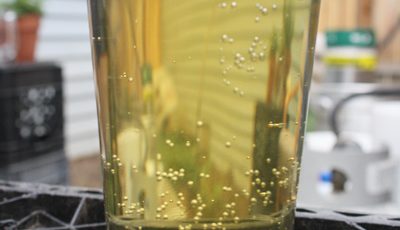
(more…)

This article was originally posted on Dec. 5, 2011 on my homebrew website, Fat Grey Tom’s Cider. It has been re-posted here with the same time stamp.

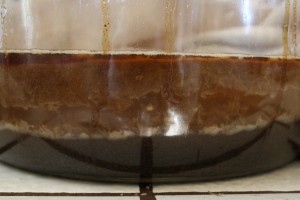
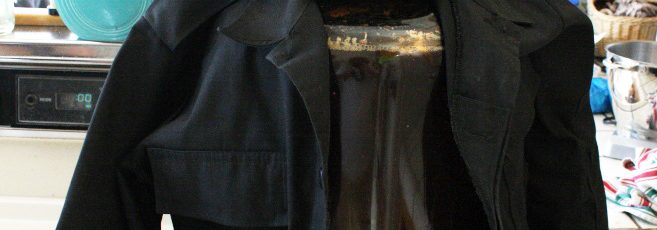
We secondaried Leo’s Stout, batch #2. The grains and trub settled to the bottom and the yeast settled and compacted on top of it.

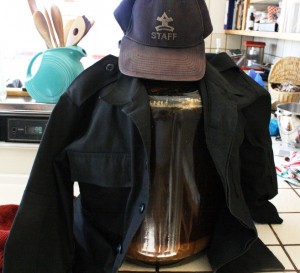
We used Leo’s jacket to protect the carboy from sunlight and it seemed it deserved a hat.

The stout provided a problem, however: it was primaried in the garage, which gets much colder than the rest of the house. Considering this, the new batch of pumpkin is being primaried in the work room and the stout is being secondaried for a lot longer, for about two weeks or so, so the yeast can finish the job it didn’t get done initially. Because it is an ale and we did put it in too cold of conditions. Our bad!

However, now, it’s sitting in a bucket in the warm.

I think we learned our lesson.

All the pictures here, on Flickr, all released under a creative-commons attribution-only license.


Look at that yeast cake! Look at that trub!


Trub at the bottom. Big yeast cake mixed with sediment.

This article was originally posted on Oct. 4, 2011 on my homebrew website, Fat Grey Tom’s Cider. It has been re-posted here with the same time stamp.

Leo and I went to two places, before the massive bottling and brewing that is tomorrow.

The first place we went, making a dent in our collective wallets, was the brew store. We got all we needed, and then some, for a clone of 8-Ball Stout. It’s one of Leo’s favorites. Unfortunately, we miscalculated the projected cost.

Nevertheless, we also picked up stoppers and fermentation locks. Hurrah, I say, hurrah!

For, tomorrow is brew day.

And brew day is a good day.

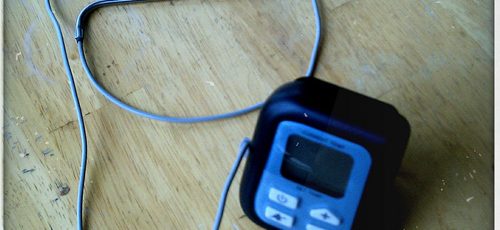
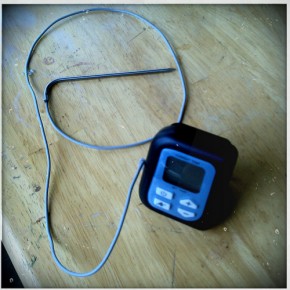
The fancy new thermometer. We plan to use it for brewing tomorrow.

The second place we went was Wally World where we managed to find a digital meat thermometer that can have its probe set separately from the body. Meaning, I won’t have to stick my hand into horrible steaming wort, that burns.

Burns!

And so, tomorrow, we experiment. Tonight, we sleep.

This article was originally posted on Sept. 30, 2011, on my homebrew website, Fat Grey Tom’s Cider. It has been re-posted here with the same time stamp.

As I continue to seek work and search for things to do, I come to realize that a well-organized bottling system would be a nice addition to our brewing set-up.

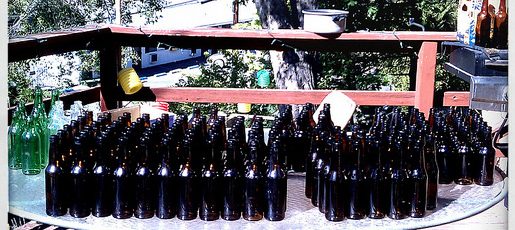
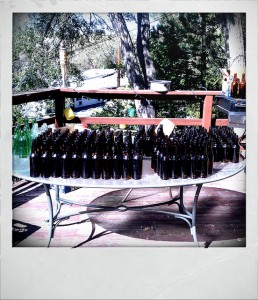
A table full of beer bottles organized and lined up based on bottle type.With that end in mind, I organized all of the bottles based on type.

But, allow me to back up a few steps. The first thing I did was to put all of the bottles in an Oxyclean and water solution and wipe their residual label glue off.


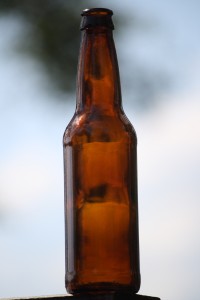
To my surprise, the lion’s share of the bottles are exactly the same. These bottles, I call normal:

A normal beer bottle

These normal bottles have been, so far, from domestic beers.


We do have a few exceptions to the domestic-bottle rule, the most prominent for this house being Kona Longboard.


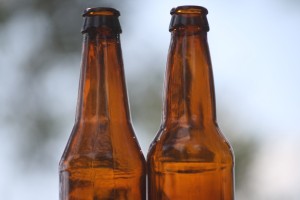
Side-by-Side of a Kona bottle and a normal bottle.

Kona, left. Normal, right.

The Konas are still nice for a couple of reasons. Although the bottle is different than the majority, the bottles themselves have no brewery-specific markings.

This is a marked difference from Widmer (W design stamped at the top,) Fat Tire (New Belgium stamped on the top,) Sam Adams (stamped at the top) and Deschutes (hops stamped at the top.)

But we don’t just brew beer here. We brew cider too and cider and beer need different bottles, easily distinguished at first glance. We want to not have to rely on labeling to tell what’s in the refrigerator. So, we decided, cider would be bottled in stumpy and odd-colored bottles.

Sierra Nevada and New Castle Werewolf bottles, side-by-side.

Newcastle, left. Sierra Nevada, right.


The major stumpy bottle in this area is the Sierra Nevada. The other major is New Castle, both its brown “Werewolf” bottles and its normal, clear bottles.


After we brewed and bottled our first batches, we realized how important it is, or can be, to have clean, standardized bottles. Bottles that are same for the same brew.

Next step: Labels!

We’re looking for a label designer.

“Fat Grey Tom’s Blitzkrieg Cider”