Norbit died of euthanasia after a massive stroke followed by heart failure on Sept. 3, 2025. He was 16.
Norbit was a very good boy. A consummate lover of laps, he loved his bed time, and in the past year had taken to being a between-the-legs cat. Stretched out the length of the bed, in a little ball, laying against your leg, all positions between two legs he adored.
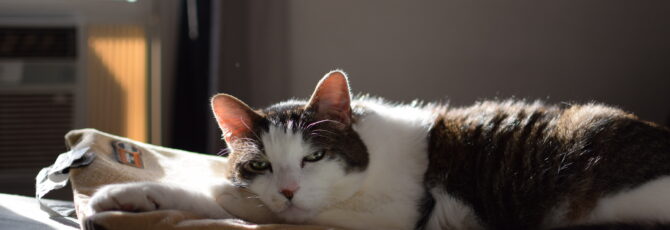
Close up on awake Norbit on heating pad.
Just as much as he loved lap and bed time, Norbit loved his cat beds, whether it was lying in them, lying next to them, or with his claws sunk deep into them as he dreamed whatever cats dream of, or smooshing his face into them. The positions he sought to sleep in should baffle any sleep scientist.
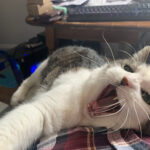
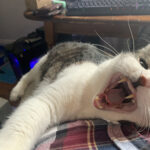
Norbit was not a headbutter, or much into slow blinks. He wasn’t a fan of being held, except maybe as a baby, and then, only sometimes.
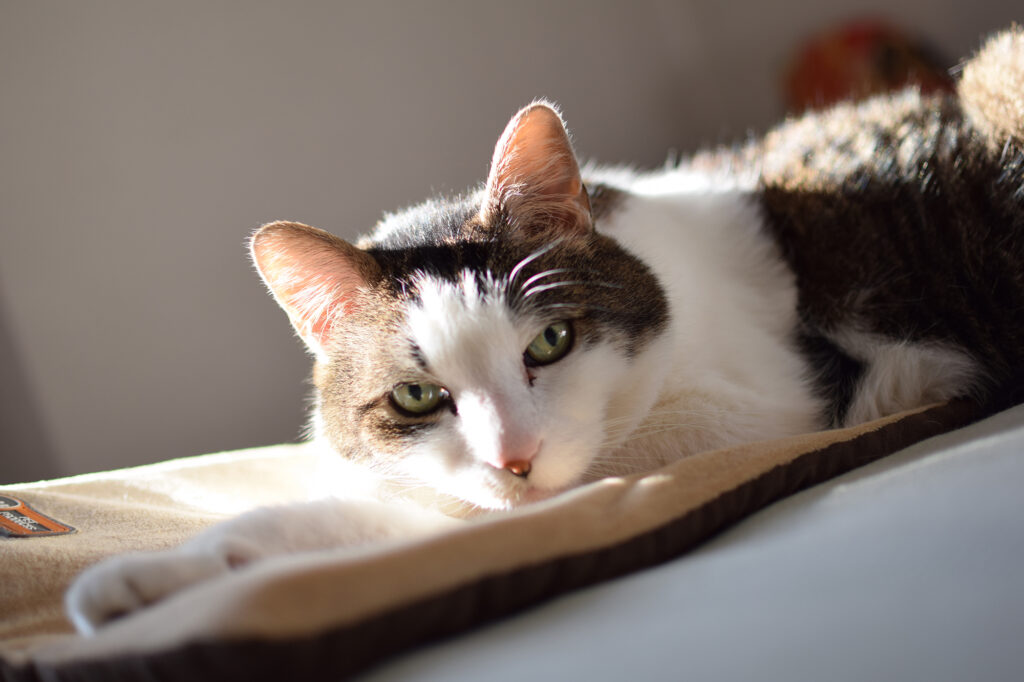
Norbit getting chin scratches
His purrs were some of the loudest I’ve ever heard, rivaling an AC unit. He was fearless. Not in the way that some cats will take on dogs or bears, but in the way that few things ever bothered him and not once did we see him run and hide. He didn’t like crowds of loud people, but was indifferent to noises, as he was indifferent to windows, although he didn’t mind a sun spot.
For some reason, he was never really into toys, except for the one type of string ball toy that was also Dexter’s favorite (RIP) — and he walked away with it in the same way. That and his catnip banana, which he would insist on sleeping on top of.
While Norbit was 16 when he died, he came to us as an older cat, an estimated 13, weighing a mere eight pounds in the summer of 2022. (We got him after the sudden death of Dexter).
At the Providence Animal Rescue League, his picture with a little tie on his collar, adorned the wall as the cat who had been stuck in the shelter the longest.

When he went to the shelter, it was one of the few times he was available to see, as he was back in the shelter from where he was being fostered, as he did not do well in the cage.
Norbit was brought to the Providence Animal Rescue League after his dad died. Norbit had been with his dad since he was a kitten. His daughter took Norbit in, but after litterbox issues that went undiagnosed, he shrank from over 18 pounds to 8 and she surrendered him to the Providence Animal Rescue League, where he was diagnosed as diabetic.
We were sent home with a vial of insulin, a few needles, and instructions on how to give him his injections. (Fortunately, he never felt a thing.)
When we brought him home, for the first month or so, as we sat on the couch, he would sit on the floor, just staring at us.
Norbit the first time he jumped on the bed. He was super skinny.
Then one night, he jumped on the bed. Seemingly, he had made the decision to trust us, and then later, I can only hope, love us. Or at least he quickly became comfortable enough with us to start bopping us in the nose and mouth in the morning with his paw because he wanted to be fed. When his demands went ignored, he would turn to face licking.
After a few months, he started gaining a little weight. Early pictures of him, he looks like skin and bones, a sad version of the cat we had to let go. He would max out at 16 pounds with us, slowly losing a little weight over the past year, as medications were added to his roster.
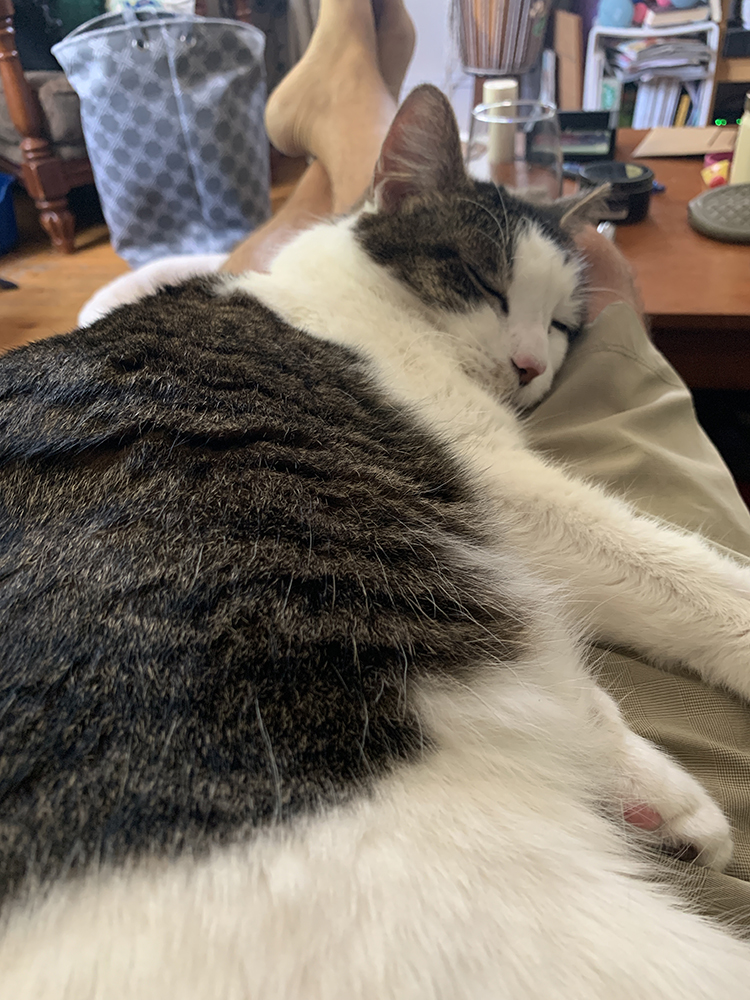
Norbit sleeping on a lap.
Sometime after we adopted him, we would ask a friend to board Norbit when we went away for a vacation. Much to my chagrin, he reported the first night, Norbit slept on the bed. The second morning, Norbit was bopping him in the face. Soon thereafter, he was getting the morning face licks for not complying with feeding time.
Norbit was not shy about his need for pets, either. Around 3-4 p.m. each day, he would begin to stir from his mid-afternoon nap and demand pets followed by lap time. As Norbit’s boarder (his uncle) recounted for us, his schedule kept no matter where he was staying.
In the mornings, until the past six months when he stopped jumping, he insisted on being on The Providence Journal’s morning meetings, walking on the keyboard, only sometimes settling for lap time.
Norbit was a lap cat, even if it took a few days of being starved of constant human companionship for him to warm up to his cat sitters.
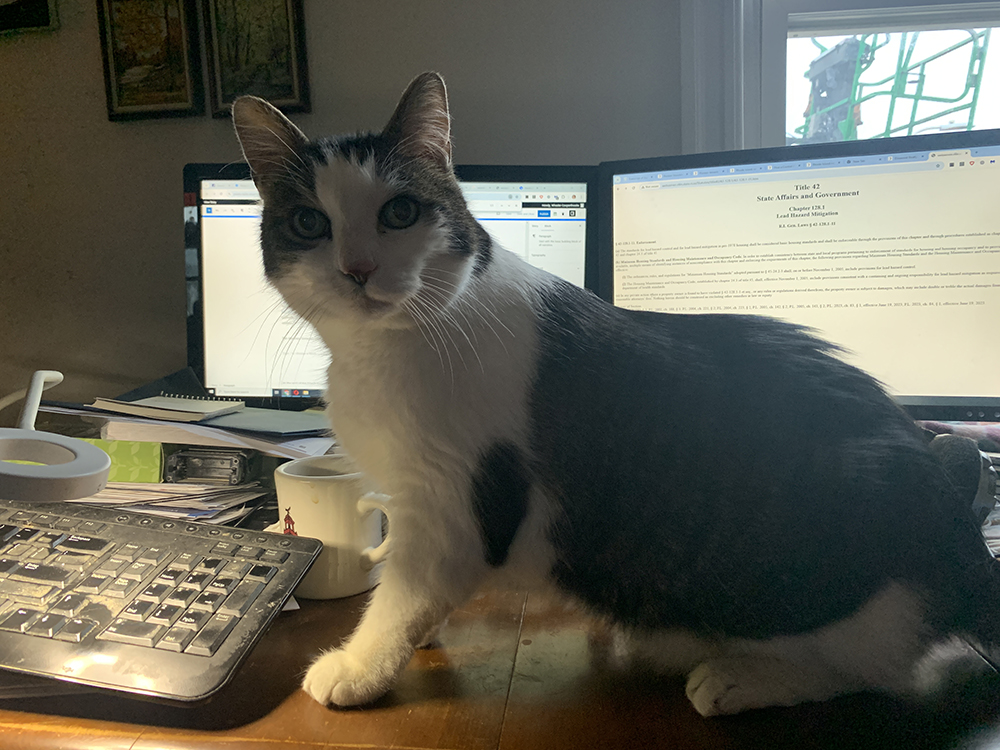
Norbit loved to get on the desk when someone was working.
Norbit’s death came as a surprise at the same time it didn’t come as a surprise. For a diabetic 16-year-old cat, he was doing really well. Healthy weight. He could still jump, if he chose not to most of the time. His interest in toys waned but not his interest in pets. He got a set of stairs for the bed, which he quickly learned to use, hopping down in the middle of the night to eat something, then quickly getting back to his spot between the legs. In the mornings, evenings, anytime that seemed appropriate or inappropriate, he was liable to announce himself: popping his head above the comforter, letting out a loud meow, before walking onto the bed.
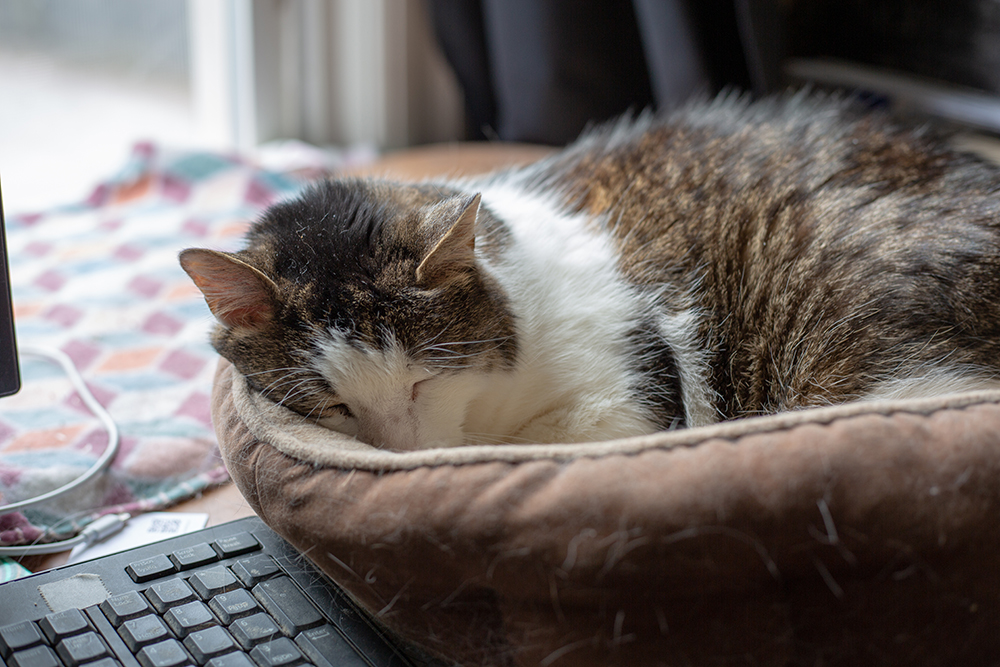
Norbit sleeping in a bed on the desk.
Earlier in the year, we took him to the vet for an emergency appointment after he suddenly lost the function in his back legs for about three minutes. He regained the function while I was on the phone with the vet, but still we took him in.
It was probably a stroke, she said. More may follow. And they did. Norbit had periodic episodes until Sept. 3 when he woke from a nap and found he was unable to control his limbs, furiously trying to get up.
At the emergency vet, he seemed to be doing fine as could be expected, angry about his lack of functioning limbs. Blood pressure? Fine. Blood sugar? Fine. Until he started to crash, having a hard time breathing, as he went into heart failure.
The common refrain for our pets is that they’ve gone over the rainbow bridge and if we’re lucky enough to have an afterlife, they’ll be there too, although no one ever addresses what happens when there’s a clowder of cats waiting for you.
Instead, I like to think that Norbit is somewhere with his dad and they’re probably taking a nap together.
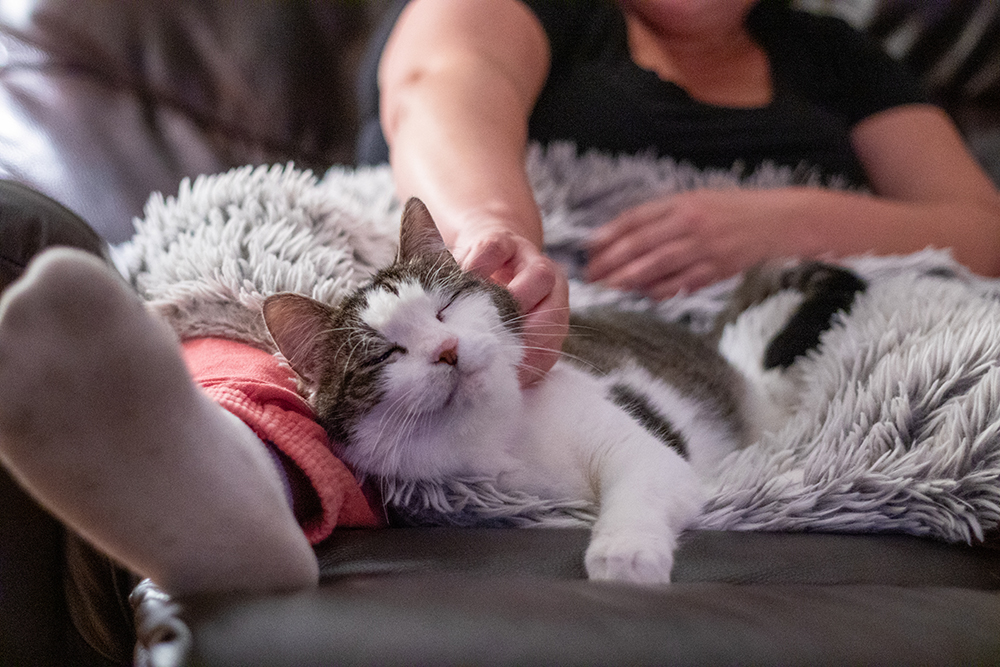
Norbit on a lap.