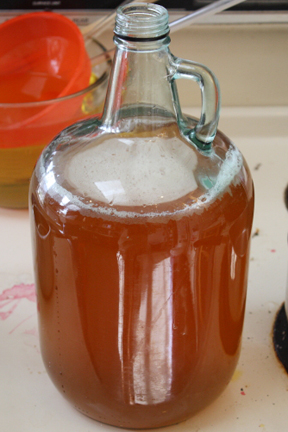
This article was originally posted on Dec. 21, 2011 on my homebrew website, Fat Grey Tom’s Cider. It has been re-posted here with the same time stamp.

Today, Dec. 21, marked a great day. A day on which Bryce and I sampled the fruits of our and many a chemist’s labors. They were sweet, they were sour and smelled like ham.

I had limeade in the refrigerator. We calculated out the amount of sugar we needed to add to get it up to snuff with a normal 1/2 gallon cider’s sugar. We boiled the sugar, added it and put in Lalvin EC-1118 yeast at the same time we started a new batch of Apfelwein, both a normal and an experiment.

Right before, because we had boiled the sugar, water and limeade together, we used the wort chiller for the first time. And I can attest, it works brilliantly. I can also attest, our local Homebrew Store was selling an inferior wort chiller (fewer coils at a lesser gauge) for nearly $75.

Woah. Not cool.

Now, we wait a month to see how the limeade fairs.

Hurrah!

We put all the info into our experimental sheet printout. If you’d like a (blank) copy for yourself, here it is: Experiment Sheet
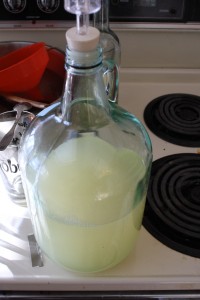
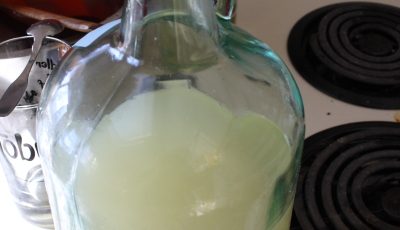
The Limeade wine, after having its yeast pitched.
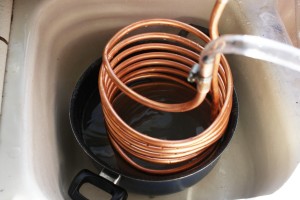
The wort chiller in the limeade pot.

Flickr gallery of the day’s winemaking: http://www.flickr.com/photos/wcowperthwaite/sets/72157628526106323/with/6554714965/
This article was originally posted on Dec. 12, 2011 on my homebrew website, Fat Grey Tom’s Cider. It has been re-posted here with the same time stamp.

After our near-debacle with the pumpkin beer, we decided that a change was in order. And that change was a wort chiller: no more messing with huge quantities of pre-prepared water, of waiting for things to cool, of putting the glass carboy into a giant tub of water while it’s freezing outside.

Eric decided we were done with screwing around, and I agreed and decided we were going to collectively bite the bullet.

The biggest cost of making the wort chiller was the cost of the 25 feet of pipe. All told, it came in at about $48, divided over four people.

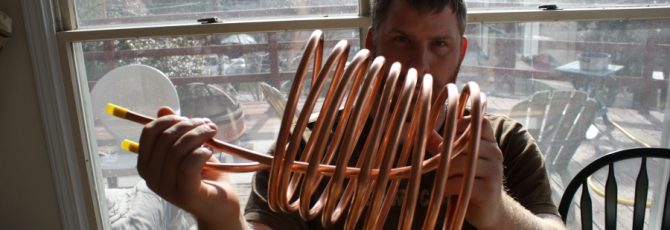
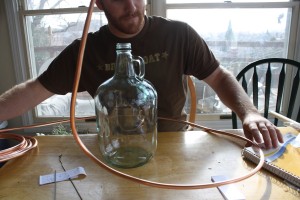
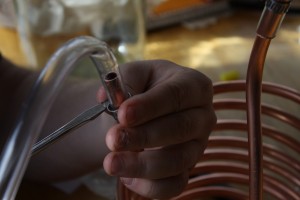
We took a carlo rossi jug and wrapped the copper coil around it. We put the rubber tubing over the top of both ends of the copper tubing and fastened and tightened them with fasteners. We then put a swivel barb hose adapter at one end. Fastened it. Voila!

We were done.

How cool is that!

You can do it too! Check out the pictures.

And make sure NOT to crimp the copper tubing.

Uncoiling the copper pipe so we can recoil it.

The chiller once it’s been wrapped around the Rossi jug. Next up: attaching the tubing.


Tightening the fasteners


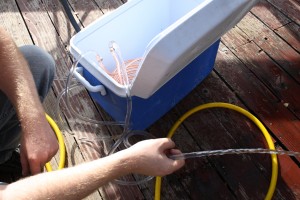
Clearing out the pipes.


All the pictures on Flickr


This article was originally posted on Dec. 5, 2011 on my homebrew website, Fat Grey Tom’s Cider. It has been re-posted here with the same time stamp.

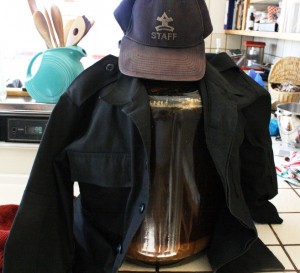
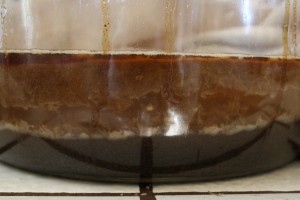
We secondaried Leo’s Stout, batch #2. The grains and trub settled to the bottom and the yeast settled and compacted on top of it.

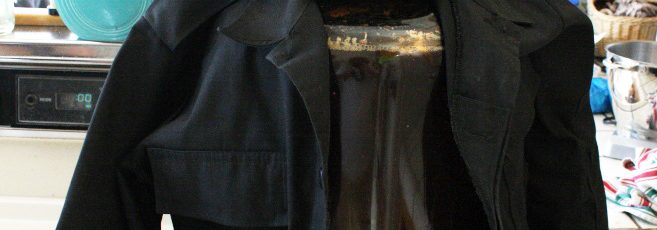
We used Leo’s jacket to protect the carboy from sunlight and it seemed it deserved a hat.

The stout provided a problem, however: it was primaried in the garage, which gets much colder than the rest of the house. Considering this, the new batch of pumpkin is being primaried in the work room and the stout is being secondaried for a lot longer, for about two weeks or so, so the yeast can finish the job it didn’t get done initially. Because it is an ale and we did put it in too cold of conditions. Our bad!

However, now, it’s sitting in a bucket in the warm.

I think we learned our lesson.

All the pictures here, on Flickr, all released under a creative-commons attribution-only license.


Look at that yeast cake! Look at that trub!


Trub at the bottom. Big yeast cake mixed with sediment.

This article was originally posted on Nov. 24, 2011 on my homebrew website, Fat Grey Tom’s Cider. It has been re-posted here with the same time stamp.

Leo’s Stout #2,  has its genesis in the original stout we brewed. As you might imagine.

This time, however, we boosted the batch size to around six gallons to take advantage of our 6.5 gallon glass carboy.

Can you say blow-off tube? Because we have one.

Oh yea. We feel pimpin’. Nay. We be pimpin’.

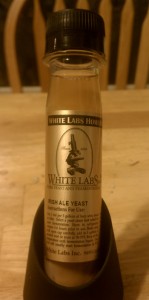
Much like for the first Stout, we used a White Labs Irish Ale Yeast, pictured below.

We’ll be using this same yeast to ferment a 2 1/2 gallon batch of cider done in the most lovely of Mr. Beer’s with a new spout. Which has been gorilla glued into submission.

Our next batch will be a pumpkin beer.

White Labs Irish Ale Yeast. Done us well so far.


This article was originally posted on Nov. 19, 2011 on my homebrew website, Fat Grey Tom’s Cider. It has been re-posted here with the same time stamp.

Apfelwein #5 was mixed on November 19th. (See the publish date? Regardless of when the article goes live, it’s backdated to the date of the event.)

We used cups instead of grams to figure out how to get our sugar levels right. Otherwise, AW #5 is noticeable for a single reason, besides being our fifth batch of Apfelwein (AW) or sixth batch of cider.

That is to say, this time (it’s also the first time) we’re using the Windsor Ale Yeast from Danstar instead of either Lalvin’s EC-1118 or Danstar’s Nottingham Ale Yeast.

So, it should be interesting to see how it comes out. In a month.

AW #5 in its fermenter.

This article was originally posted on Nov. 19, 2011 on my homebrew website, Fat Grey Tom’s Cider. It has been re-posted here with the same time stamp.

Apfelwein #5C, aka, should be hooch-tastic but will probably just take forever to ferment. I write this because AW #5C (I don’t know why I settled on the C nomenclature for the sixth gallon on normally 5-gallon batches) is only 1 gallon of apple juice but has an extra 1.5 cups of brown sugar added to it. Which gives it a very dark, almost molasses color.

Just like AW #5, we added Danstar Windsor yeast to ferment it down. And once again, we had no hydrometer to measure. Alas, alas, alas.

That being said, we’ll see how it goes.


The 1.5 cups of brown sugar gave the cider a very dark color. We couldn’t do measurements in metric because the scale was out of battery.

This article was originally posted on Nov. 19, 2011 on my homebrew website, Fat Grey Tom’s Cider. It has been re-posted here with the same time stamp.

Just as Bryce and I wanted to break out of the box by fermenting Hawaii’s Own, so too did we want to break out of the box, and possibly ferment it, when we decided to take on White Grapefruit Juice.

Once again, we figured out how much sugar we needed to add to bring it up to the same sugar gramage that our ciders have. We added the sugar, pitched the yeast and put the fermentation lock on and off to the races it went.

We used Lalvin EC-1118. We have another half gallon that we’re waiting on fermenting until we start another cider batch and use an ale yeast, so we can save the few extra dollars on a new yeast packet.

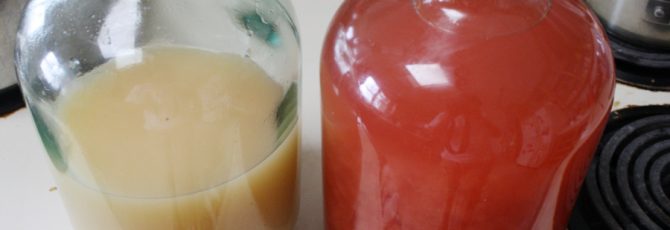
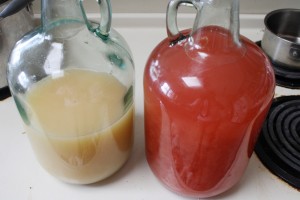
Side by side of the White Grapefruit and Hawaii’s Own. Both are being fermented by Lalvin EC-1118.


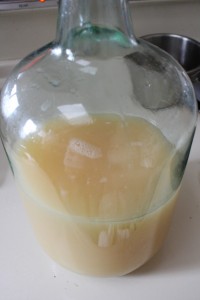
The White Grapefruit is, in fact, white.

This article was originally posted on Nov. 19, 2011 on my homebrew website, Fat Grey Tom’s Cider. It has been re-posted here with the same time stamp.

Bryce and I decided that it was time to take some drastic action. Mainly, I’d picked up 16 carboys from a response to an ad on Craigslist and we wanted to start experimenting. For, we cannot become better brewers until we break out of our comfort zones, no?

No matter.

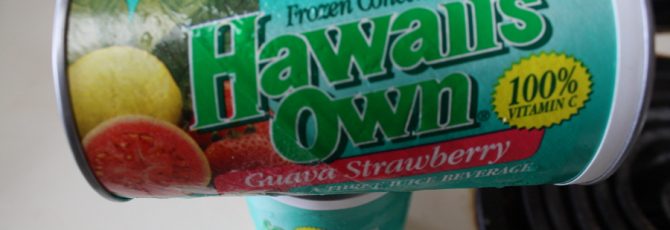
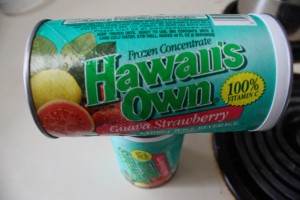
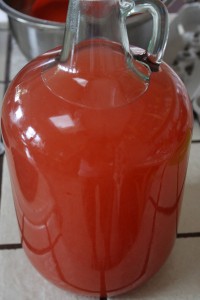
We figured out the needed extra sugar for one gallon of Hawaii’s Own (pictured below) to bring it up to the same sugar level of our ciders. Then, we poured in water and pitched the yeast (Lalvin EC-1118.)

Hopefully it’ll turn out.

We used two cans of Hawaii’s Own Guava Strawberry.


Hawaii’s Own makes a nice red.


This article was originally posted on Nov. 19, 2011 on my homebrew website, Fat Grey Tom’s Cider. It has been re-posted here with the same time stamp.

AW #3C was a first for us. We’d read that brown sugar gives a “cidery” taste to alcohol, so, we figured that we’d increase the sugar content of a cider, a 1 gallon batch, exclusively with brown sugar.

AC #3C and AW #3 were taken out and taste tested at the exact same time and 3C, aka the Brown Sugar Bomber, tasted completely different from its fraternal big brother. It tasted incredible sweet, which leads us to believe (in lieu of a hydrometer, which was broken when we were first trying to use it) that the yeast hasn’t finished going to town on the sugars. So, it may just need longer in the bottle, since we bottled it.

We’ll see.

We primed it, and that’s all. No priming sugar.

If you look down in tags and look for AW Batch #3c you’ll see the old posts for it.


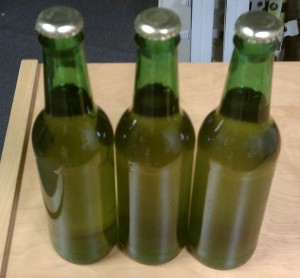
We bottled AW #3C in Becks bottles.


AW #3C had a dark hue, which doesn’t come through here.

This article was originally posted on Nov. 19, 2011 on my homebrew website, Fat Grey Tom’s Cider. It has been re-posted here with the same time stamp.

Apfelwein #3, we decided, should be a batch of few things. We bottled AW #3C straight, no lactose, just priming sugar.

We also bottled one gallon of AW #3 with just priming sugar, no lactose (sweetening sugar, unfermentable by yeast.)

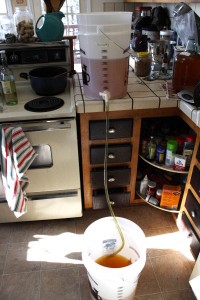
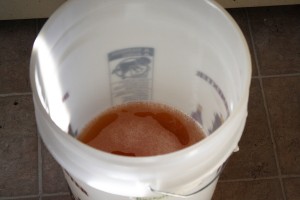
The other four gallons we stuck into a bucket. In between, we stuck four packages of frozen raspberries that had been boiled for 15 minutes with 6 tablespoons of brown sugar.

And, there you have it! As soon as it’s ready, I think we’re all going to be happy. Or, it’ll get drunk be other people and we’ll be stuck nursing the rejects.

However, we plan on tertiarying it for at least a week to let the residuals settle.


The raspberries with a little bit of water and 6 tablespoons brown sugar, boiling for 15 minutes.


Raspberry foam! All pink and stuff


Bryce posing with the fermenting bucket and the secondary bucket.