7. Bring your wide angle lens
I shoot with an old Canon XS from 2010. It was the bottom of the line at the time and it has no bells or whistles, but it can take a damn fine picture with the right lens. When I went the first time, I figured to shed weight and reduce liability I should not bring a laptop or most of my lenses. I specifically for the trip bought a 50 mm f 1/8 prime lens, as well as a 20 mm prime lens. Considering I shoot on a APS-C, or crop sensor, camera, that means the 20 mm is quite a bit longer, as is the 50 mm. I also brought my zoom lens. (I love my zoom lens.)
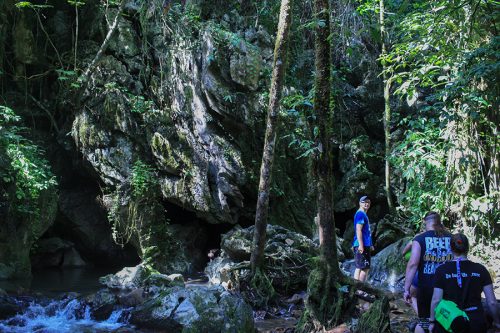
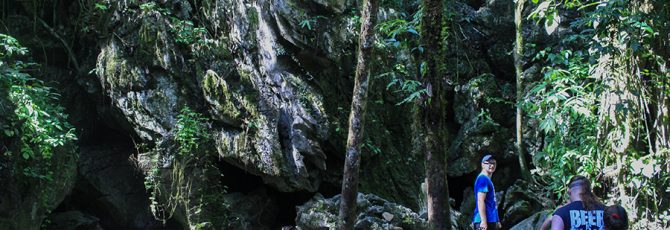
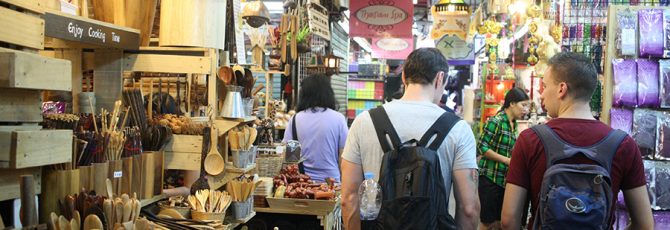
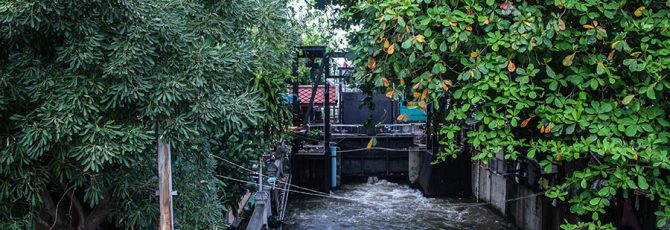
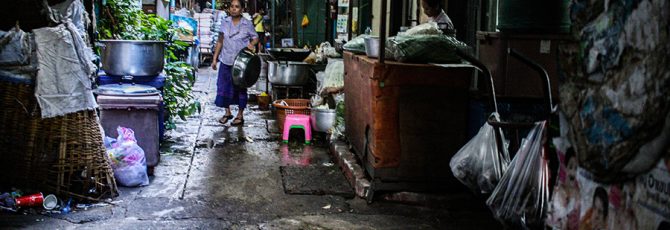
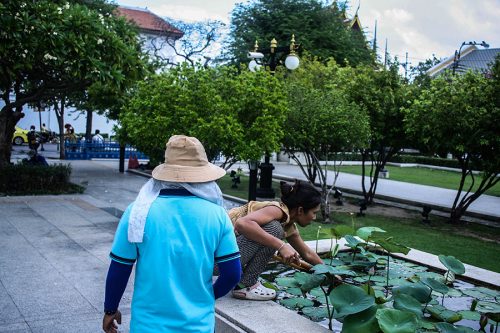
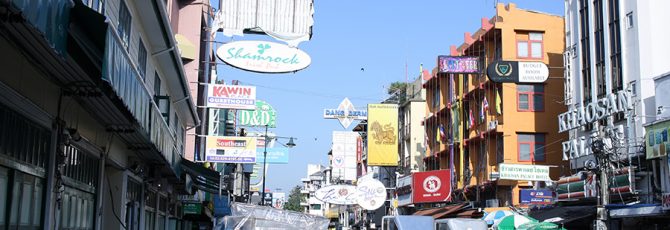
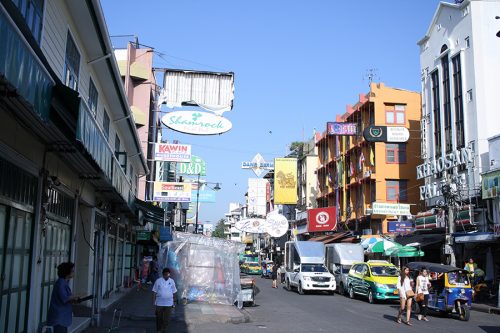
What I didn’t bring is my wide-angle lens (10-22) or my kit 18-55. I wish I had brought the former and I’m glad I didn’t bring the latter. The kit lens is just horrible. But my wide-angle lens is fantastic and many things I saw required it.
(This later became a moot point in Vietnam when, on my third day in country, I broke that wide angle lens. It was in the top of my partially unzipped backpack and when I lifted it, bam! It shattered on the hostel’s concrete floor. This led to a longer odyssey that resulted in the purchase of a lighter, but higher F-stop, wide angle lens.)
I managed to get by a little by using the 20 mm and trusting that I would be able to stitch the photos together later. I normally used Hugin, a free photo stitching (panorama) program, but I found after I tried to get some photos stitched, it was not having it.
However, the new CC version of adobe Lightroom has a merge/stitch function which gets the job done.
So, bring your damn wide angle lens or get one, all you DSLR shooters with crop sensors.
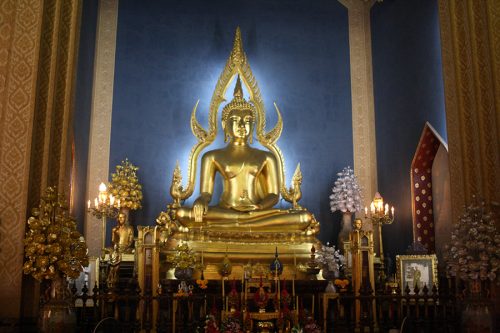
This radiant Buddha shows what the low light prime lenses can do. Picture taken in Bangkok on Dec. 5, 2015.
8. Bring enough big SD cards and extra batteries
I use an old Canon XS from 2010. It doesn’t have the bells, whistles, GPS, WiFi, movable screen or anything else that even basic DSLRs now have (like higher ISO) but it gets the job done. One downside is that it can only use SDHC cards, which max out at 32 GB. I didn’t learn this until a couple days before I was set to leave for Thailand and I tried to use a 64 GB SDXD card.
But, I had enough SD cards and I mostly shot in JPEG (something I later regretted when it came to processing photos with certain light settings) which means I didn’t run out of room.
I did have to rely on my final backup, though, a 8 GB card. What I learned, after shooting on 16 and 32 GB card for two weeks, was the buffer time on smaller cards is more. Even though the camera might have a certain speed it can shoot at, a bottleneck can become smaller cards. The lesson? Make sure all your SD cards are 16 GB or above.
There’s another, secondary lesson here: make sure to shoot in RAW. So many of my photos from Thailand were just throw-aways because I shot in JPEG and not in RAW. It’s a decision that I rectified when I went to Vietnam. This led to more post-trip picture processing but it also meant that a lot more of my photos, when I was in bad conditions, were salvaged.
Finally, bring extra batteries. You never know how long you’re going to be out before being able to charge so spend the cash and buy a few extra batteries. Please! You’ll thank me later.
9. Bring a waterproof camera
I went on a couple of treks in Thailand, that involved snorkeling, swimming, going through water-logged caves and the like. I only had my trusty Canon XS from 2010. That was a mistake. I should have also brought a waterproof camera (point and shoot because I just don’t have that much money). I didn’t know that at the time. I do now. Woops!
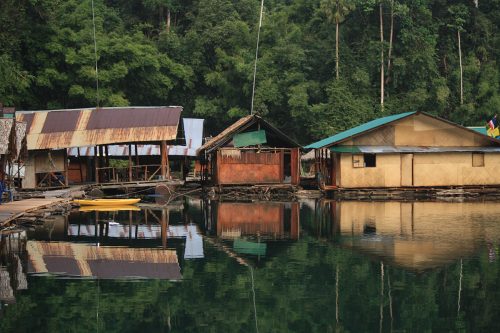
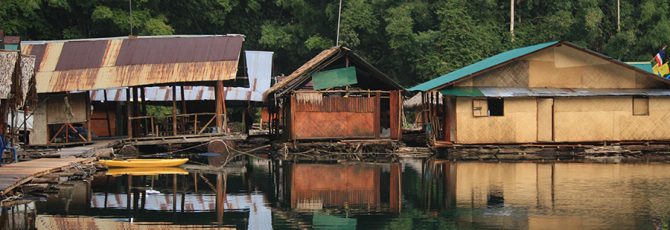
I stayed on a floating guest house on a reservoir. People didn’t like me pointing out it was a reservoir, not a lake. This part of my trip involved lots of water and, consequently, I have few shots. Hence the need for a waterproof camera.
10. Change your camera’s time/time zone immediately
You will forget this but, once you get in country, change your camera’s date and time to local time. Otherwise, you’re going to have to change all the metadata when you’re at home, trying to figure out which pictures were taken on which day. If you’re like me, and sort photos based on date, this can become a big issue.
It’s also important when you’re trying to sort your photos by day and all of a sudden, you realize one set has been split into two because you’re camera thinks you were shooting between 11 p.m. and 1 a.m. when really, it was 3 in the afternoon.
Setting your camera’s time and time zone also helps when you’re trying to figure out when something happened. As a journalist, in my job, I find this to be a great asset. It’s like a time stamp, which, when combined with your travelogue, makes everything clearer.
Find all of the travel lessons curated here.
