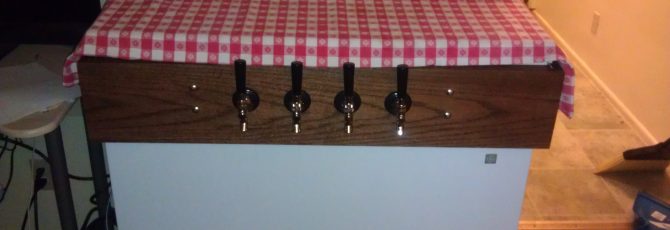
This article was originally posted on June 10, 2013 on my homebrew website, Fat Grey Tom’s Cider. It has been re-posted here with the same time stamp.

Bryce has wanted an IPA for a long time and we have tried on multiple occasions. On these other occasions we have failed and created pale ales that were not of the India stature. This last time we tried, though, we knocked it out of the park. Well, not really. It’s really bitter though.

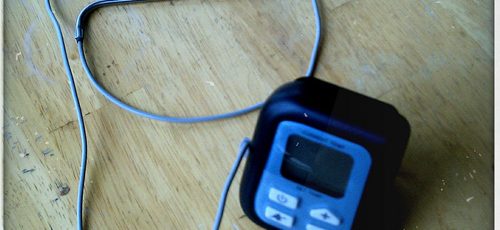
Leo and I went to the brew store at some point before April 6 (when we brewed it) and he picked out the ingredients, including many hops. We had an uneventful brew day — nothing in particular went wrong. We had even more hops lined up, sitting in a container in my refrigerator, but did not use them this time around. I’m not sure exactly what the hops are anymore: they were the hop pellets of brews past that kept on spilling out, the tops of their baggies cut away along with their identities.

I’ve no doubt they’ll begin to haunt me and my dreams.

We used the London ESB ale yeast, which seemed to be very tolerant.

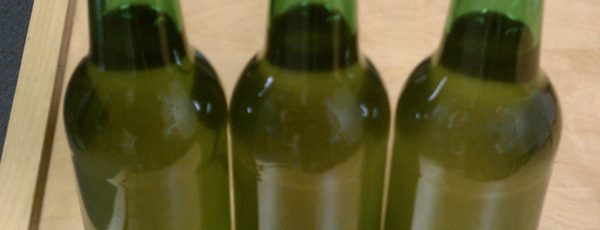
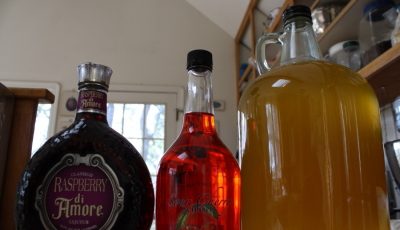
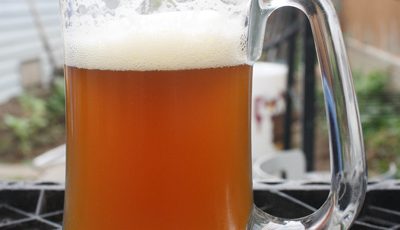
One can see where the foam was at the top of the mug before settling down into a manageable head.

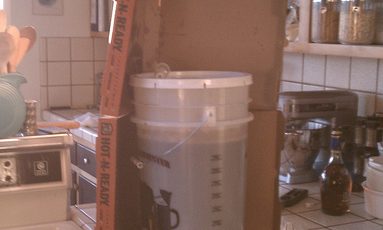
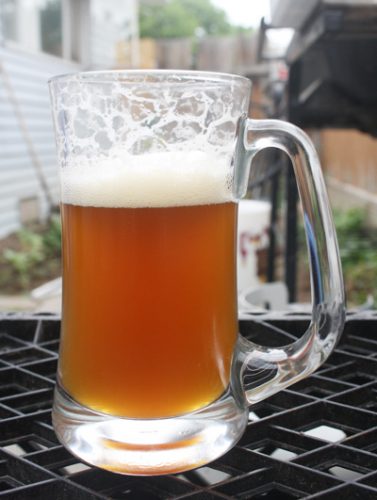
We let it sit, with much hop sediment, for over a month (closer to two months) before we kegged it. We first secondaried it and then finally kegged it. The beer is still cloudy, unlike the ciders which always seem to clear irregardless.

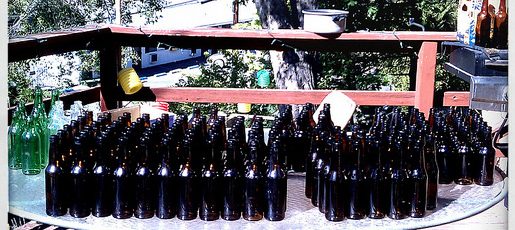
As it has aged in the keg, it has begun to foam more and more than it did when it was first put in, becoming harder to pour and the head is retained for one to five minutes before settling down.

On its head, there is a large amount of bitterness and underneath is a strong pale ale pedigree. The aroma is there, although it could be more, as could the hops taste itself. But, it is damn bitter. If you like bitter.

One of the problems I have found as a homebrewer is once one (Bryce) walked down the path of IPAs, his pallet seemed to be perpetually cleansed of the ability to taste any beer that was not heavily hopped. Alas, alas.

INGREDIENTS

1 lb. Caramel 60 L
1 lb Honey malt
6.6 lb light LME (liquid malt extract)
3 oz Northern Brewer
2 oz Nugget
2 oz Cascade
1 oz Czech Spaz

HOP SCHEDULE

60 minutes
3 oz Northern Brewer
2 oz Nugget

30 minutes
2 oz Cascade
2 oz Czech Spaz


This article was originally posted on March 19, 2013 on my homebrew website, Fat Grey Tom’s Cider. It has been re-posted here with the same time stamp.

After many, many hours of work between the three of us, much hand-wringing over which items to buy and many, many trips to the store to figure out the correct-sized chest freezer, the kegerator, or keezer, is complete.

We’re running a four-tap system which means we have four Cornelius kegs jammed into the inside of the chest freezer. Bryce and Leo constructed a collar for the lid of the freezer to sit on, extending the height of the total unit. This was important because we invested in two 10-pound CO2 tanks with double regulators each. These sit on the hump of the compressor and allow us to interdependently control the level of CO2 going into each keg. Our cider keg is set at a much higher pressure than the rest.

The entire system is a dream and amazing for hosting parties, so long as no one bumps into the taps which, in a cramped space such as mine, is a real issue. We’ve yet to tackle the issue of a drip tray. At the moment, the drip tray could also be called a scrap towel folded and sitting beneath the taps.

Our next project, as the cider keg nears running dry, is to ferment five 4-gallon batches of cider with different yeasts so we can just start putting them in the keg once the past batch has been drunk. This also leaves the option of mixing finished ciders open and allows us to try a series of different yeasts we have but have not yet used.

The hope is, if one of the ciders doesn’t turn out, we’ll be able to mix it with one of the others.

All in call, I suggest a 4-keg system with a collar. At least, that’s what worked for us. Although the financial output at the outset is hefty — very hefty — it’s worth it.

This article was originally posted on Dec. 12, 2011 on my homebrew website, Fat Grey Tom’s Cider. It has been re-posted here with the same time stamp.

After our near-debacle with the pumpkin beer, we decided that a change was in order. And that change was a wort chiller: no more messing with huge quantities of pre-prepared water, of waiting for things to cool, of putting the glass carboy into a giant tub of water while it’s freezing outside.

Eric decided we were done with screwing around, and I agreed and decided we were going to collectively bite the bullet.

The biggest cost of making the wort chiller was the cost of the 25 feet of pipe. All told, it came in at about $48, divided over four people.

We took a carlo rossi jug and wrapped the copper coil around it. We put the rubber tubing over the top of both ends of the copper tubing and fastened and tightened them with fasteners. We then put a swivel barb hose adapter at one end. Fastened it. Voila!

We were done.

How cool is that!

You can do it too! Check out the pictures.

And make sure NOT to crimp the copper tubing.

Uncoiling the copper pipe so we can recoil it.

The chiller once it’s been wrapped around the Rossi jug. Next up: attaching the tubing.


Tightening the fasteners


Clearing out the pipes.


All the pictures on Flickr


This article was originally posted on Nov. 19, 2011 on my homebrew website, Fat Grey Tom’s Cider. It has been re-posted here with the same time stamp.

AW #3C was a first for us. We’d read that brown sugar gives a “cidery” taste to alcohol, so, we figured that we’d increase the sugar content of a cider, a 1 gallon batch, exclusively with brown sugar.

AC #3C and AW #3 were taken out and taste tested at the exact same time and 3C, aka the Brown Sugar Bomber, tasted completely different from its fraternal big brother. It tasted incredible sweet, which leads us to believe (in lieu of a hydrometer, which was broken when we were first trying to use it) that the yeast hasn’t finished going to town on the sugars. So, it may just need longer in the bottle, since we bottled it.

We’ll see.

We primed it, and that’s all. No priming sugar.

If you look down in tags and look for AW Batch #3c you’ll see the old posts for it.


We bottled AW #3C in Becks bottles.


AW #3C had a dark hue, which doesn’t come through here.

This article was originally posted on Oct. 4, 2011 on my homebrew website, Fat Grey Tom’s Cider. It has been re-posted here with the same time stamp.

Leo and I went to two places, before the massive bottling and brewing that is tomorrow.

The first place we went, making a dent in our collective wallets, was the brew store. We got all we needed, and then some, for a clone of 8-Ball Stout. It’s one of Leo’s favorites. Unfortunately, we miscalculated the projected cost.

Nevertheless, we also picked up stoppers and fermentation locks. Hurrah, I say, hurrah!

For, tomorrow is brew day.

And brew day is a good day.

The fancy new thermometer. We plan to use it for brewing tomorrow.

The second place we went was Wally World where we managed to find a digital meat thermometer that can have its probe set separately from the body. Meaning, I won’t have to stick my hand into horrible steaming wort, that burns.

Burns!

And so, tomorrow, we experiment. Tonight, we sleep.

This article was originally posted on Oct. 4, 2011 on my homebrew website, Fat Grey Tom’s Cider. It has been re-posted here with the same time stamp.

Our very first cider, according to Ed Wort’s Apfelwein recipe, took awhile.

This carboy of Cider #1 got bumped up two days because of a missing airlock.

And when we (Bryce, Leo and myself) found ourselves lacking an airlock (the bobber on the one we were supposed to use was missing) it was decided to steal one from one of the four Carlo Rossi carboys downstairs. Besides, we figured, the Apfelwein was supposed to come out on Wednesday — taking it out on Monday wouldn’t be that big of a deal.

So, we stole the airlock and resealed it with a normal cap.

And today, Bryce and I primed and bottled the first 1/5 of Cider #1.

That is to say, prime and bottle the first 1/5 of Fat Grey Tom’s Blitzkrieg Apfelwein.

So, transferred it from the carboy to the bottling bucket, scooped up two glasses, primed it and tasted.

The raspberry liqueur changed the color from a weird golden to reddish-gold.

And man, did it kick. Going down, it gave us the same warm feeling one gets from a shot of schnapps.

With a bit of sugar, it tasted OK, with a very light cider taste. However, the brew is still young and unconditioned.

Have a homebrew . . . Except that we have no home brew left. Damn and blast!

Alas.

We will have homebrew, soon enough. I hope.

I sincerely hope.


This Cider Batch:

Cider: Batch 1
Cider Batch 1: Update
Tag: http://brew.wheelerc.org/tag/AW-batch-1/

This article was originally posted on Sept. 30, 2011 on my homebrew website, Fat Grey Tom’s Cider. It has been re-posted here with the same time stamp.

After having successfully brewed our first beer, a “basic dark” and both wanting to move on to a greater challenge and something with a more complex flavor, we decided to brew a stout.

And brew a stout we did!

“If we’re bottling when the sun’s setting, meaning its beaming directly at the beer, isn’t that bad?” Bryce asked.

“Yes it is,” I replied.

And so, we used what we had to protect our bottling from harmful sunlight.

From the front:

The stout protected by pizza boxes

From the front


From behind:

The stout, protected by pizza boxes.

Yes, we did protect the beer with pizza boxes.


We weren’t, apparently, all there:

After I had filled the first bottle, I realized that we hadn’t yet put the priming sugar in the beer. So, we put the sugar in, stirred it up and filled the rest of the bottles and drank the first, flat bottle of stout.

And, it was good! And tasty! And so now, we wait. We wait to crack open the first brew.

Crossing our fingers.

Hurrah.

Here’s the recipe, from our local home brew store:

Ingredients:

6 lbs.      Amber Malt Extract
1 lb.        Roasted Barley
1 lb.        Amber Dry Malt Extract (DME)
1 lb.        Flaked Barley
2 oz.       Goldings, Willamette or Fuggles Hops (We used Fuggles.)

Directions:

Bring water to a boil, add malt extract, roasted barley, DME, flaked barley and hops. Stir until extract is completely dissolved. Boil for 1 hour.

Strain wort into fermenter. Bring water up to 5 gallons.

Aerate and pitch yeast.

Let beer ferment, between 60 and 75 degrees Fahrenheit,  for two weeks/when fermentation is complete.

Bottle, cap, let sit for two weeks. Enjoy.

As soon as we open, I’ll write about it. Until then, we’re still trying to figure out a name and a bottle design.

This stout:

Tag: http://brew.wheelerc.org/tag/stout-1/

This article was originally posted on Sept. 30, 2011, on my homebrew website, Fat Grey Tom’s Cider. It has been re-posted here with the same time stamp.

As I continue to seek work and search for things to do, I come to realize that a well-organized bottling system would be a nice addition to our brewing set-up.

A table full of beer bottles organized and lined up based on bottle type.With that end in mind, I organized all of the bottles based on type.

But, allow me to back up a few steps. The first thing I did was to put all of the bottles in an Oxyclean and water solution and wipe their residual label glue off.


To my surprise, the lion’s share of the bottles are exactly the same. These bottles, I call normal:

A normal beer bottle

These normal bottles have been, so far, from domestic beers.


We do have a few exceptions to the domestic-bottle rule, the most prominent for this house being Kona Longboard.


Side-by-Side of a Kona bottle and a normal bottle.

Kona, left. Normal, right.

The Konas are still nice for a couple of reasons. Although the bottle is different than the majority, the bottles themselves have no brewery-specific markings.

This is a marked difference from Widmer (W design stamped at the top,) Fat Tire (New Belgium stamped on the top,) Sam Adams (stamped at the top) and Deschutes (hops stamped at the top.)

But we don’t just brew beer here. We brew cider too and cider and beer need different bottles, easily distinguished at first glance. We want to not have to rely on labeling to tell what’s in the refrigerator. So, we decided, cider would be bottled in stumpy and odd-colored bottles.

Sierra Nevada and New Castle Werewolf bottles, side-by-side.

Newcastle, left. Sierra Nevada, right.


The major stumpy bottle in this area is the Sierra Nevada. The other major is New Castle, both its brown “Werewolf” bottles and its normal, clear bottles.


After we brewed and bottled our first batches, we realized how important it is, or can be, to have clean, standardized bottles. Bottles that are same for the same brew.

Next step: Labels!

We’re looking for a label designer.

“Fat Grey Tom’s Blitzkrieg Cider”