Thanksgiving is in just a few days so here are some Thanksgiving cooking columns and recipes, for one person, a few people or even a bevy.
There are three recipes here: spicy cranberry sauce, make-ahead giblet gravy and sage-sausage stuffing with sourdough bread.
First, the spicy cranberry sauce. Try it; it’s usually a hit.
Next up is the gravy. I like to make my gravy ahead of time, and add in the pan drippings, because there’s nothing worse than not having enough gravy on Thanksgiving. Then again, I love gravy.
Finally, my favorite recipe and a must-have at any Thanksgiving I host: sage-sausage stuffing made with sourdough bread. This is something I’ve developed over time, starting with the sage sausage, and ending up with sourdough bread instruction. The combination of good bread and sage sausage, along with some bok choy instead of celery, puts it over the top for me.
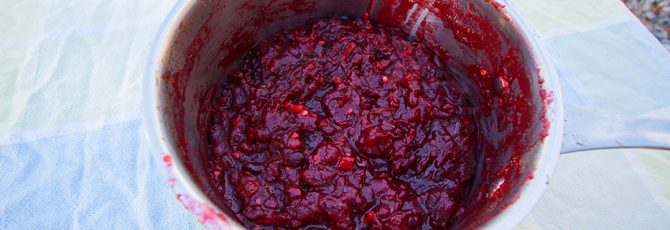
Spicy cranberry sauce
See the spicy cranberry sauce column by itself or see just the recipe
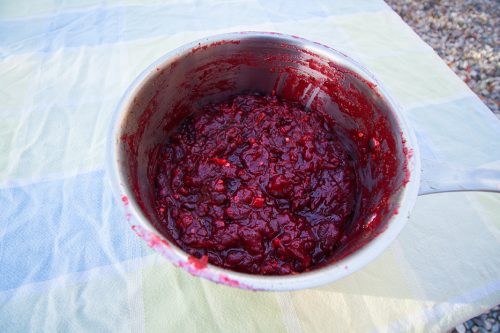
It’s mostly about the taste, but somewhat about the presentation.
Cranberry sauce (or relish) is usually a dish reserved for Thanksgiving, Christmas and any other time you’re serving a turkey.
Whatever the occasion, cranberry sauce is one of the dishes you should make before before roasting the turkey, along with stuffing and most of the gravy.
Now, before you entirely discount this recipe, being spicy, I can attest that it was one of the biggest hits from Thanksgiving 2017. The fact that spice is a part of what would normally be a sweet dish adds some to the allure.
It’s also very easy, although how cheap depends on if you can get cranberries on sale.
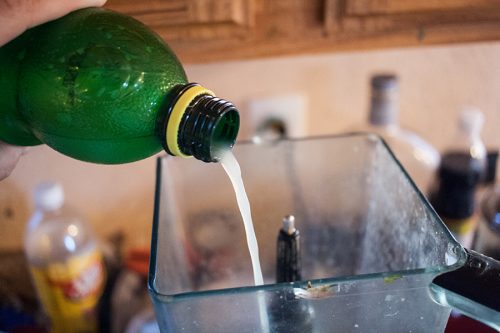
It’s essentially your regular cranberry sauce recipe (which will gel in the refrigerator) with the addition of lemon and lime juice, a little ginger and some jalapeños.
The biggest pain in the recipe is making sure to keep mixing the ingredients, while they are on the stove, to keep them from burning.
Spicy cranberry sauce/relish
Equipment
- Medium-sized sauce pan
Ingredients
- 1 ¼ cups sugar
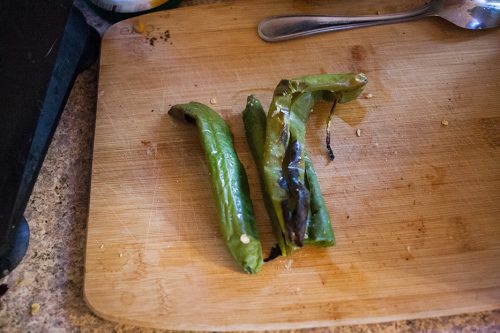
- 2 jalapenos finely diced
- 1 tsp lime juice
- 1/2 tsp salt
- 1/2 tsp chile powder
- 1 tbsp grated ginger can substitute powdered ginger
- 12 ounces cranberries
- 1/2 cup water
Instructions
- Combine the sugar, jalapeños, lemon and lime juice, salt, chile powder and water in a medium sauce pan and put over medium-high heat. Stir, as it simmers, until the sugar dissolves, about 2 to 3 minutes.
- Add the ginger and cranberries and bring the combination to a boil.
- Once it boils, reduce the heat to medium and stir enough so the cranberries do not burn on the bottom of the pot. Continue to simmer (and periodically stir) until the cranberries soften and there is no liquid remaining in the pot, between 15 to 20 minutes.
- Allow to cool and refrigerate until it’s ready to be used. It will store for two weeks.
Notes

Make-ahead turkey giblet gravy
Ingredients
- 1/2 cup butter More as required
- 1/2 cup flour More as required
- 5-6 cups water
- Turkey giblets heart, liver, gizzard (Chicken giblets work also)
- 6-10 pepper corns
- 1 Turkey neck
- 2 bay leaves
- 1 carrot
- 1 onion
- Salt to taste
- Turkey pan drippings
- 1-2 cups Optional: 1-2 cups white or red wine More as required for deglazing
- 1-2 cups Optional: Chicken or beef broth
- Optional: 1 celery stick
Instructions
- Put the water in a medium pot on high heat and set to boil.
- Add the turkey neck, all giblets (chicken giblets also work), bay leaves and pepper corns to the pot of water.
- While the water comes to a boil, cut the carrot and onion into quarters and add to the pot.
- When water boils, cover, turn heat on low and simmer for at least 1 hour but preferably for 2 and 1/2 hours or longer. The longer the simmer, the better the stock.
- While the stock simmers, either combine the butter and flour in a small bowl or put a skillet on medium heat, put the butter in the skillet and slowly whisk in the flour. Continue to whisk until it begins to turn golden brown. Remove to a separate bowl. This is the roux.
- When the stock is done simmering, strain the stock and return to the pot it was simmered in. Add chicken or beef stock, if using.
- Remove the turkey neck, heart and liver from the strainer. Remove the meat from the neck and finely mince. Finely mince the heart and liver. Add back to the stock and throw the rest of the material in the strainer away.
- Add the roux to the stock. Stir until well combined. Add wine, if desired. Put on low heat and simmer if the gravy is too thin or make and add more roux.
- If using turkey and pan drippings: Once the turkey has been removed from the pan, add a little water or wine, depending on how much liquid is in the pan, and deglaze over a medium-high heat, scraping the browned bits from the bottom.
- Add the pan drippings to the gravy and stir until well combined. A little more flour may be required to be added.
- Freeze or put in the refrigerator if being made significantly ahead of the serving time.
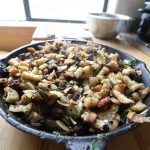
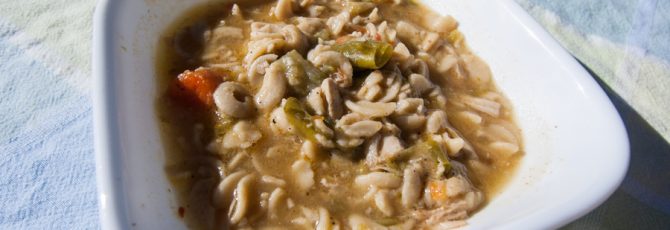
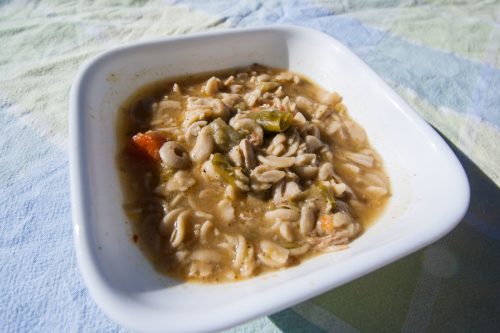
Sage sausage and sourdough stuffing
Ingredients
- 8 cups sourdough bread cubes dime to quarter sized pieces, which is a little under a pound and half. Rye or whole wheat also make for good stuffing
- 1 lb. sage sausage
- 1 cup bok choy, chopped or other vegetable of one’s choosing, such as celery
- 2 medium onions, chopped
- 1-2 cups minced parsley
Instructions
- Preheat oven to 350 degrees if any of the stuffing is to be baked.
- In a large skillet (12 inches), cook the sausage, separating it into quarter-sized pieces. Once it is almost done cooking, remove the sausage into a bowl.
- Brown the onions and bok choy (or other vegetables as desired).
- Add the sausage back into the skillet, as well as the cubed bread and parsley. Mix and continue to cook over medium-high to medium heat, until the bread begins to heat through.
- Stuff the turkey with the stuffing or put the stuffing into baking dishes.
- If baking the stuffing alone, bake at 350 Fahrenheit for 40 minutes with a tinfoil covering.
- Remove the tinfoil covering and continue to bake for 20 minutes.