Since moving to New Mexico, homebrewing has taken a back seat to everything else.
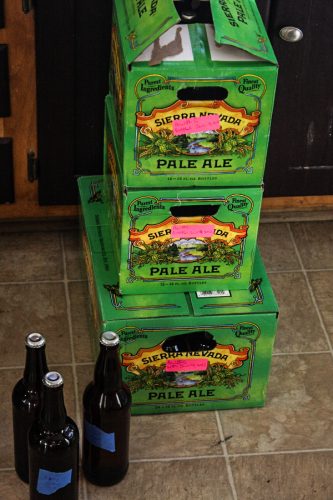
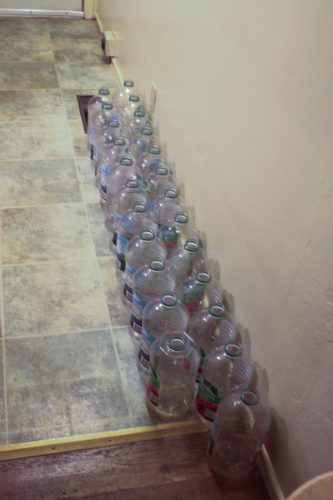
12 packs and 24 packs, recycled, were the best way to store the brew.
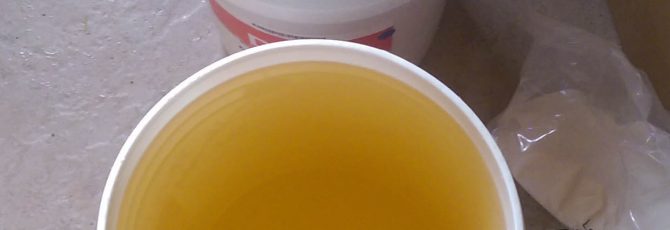
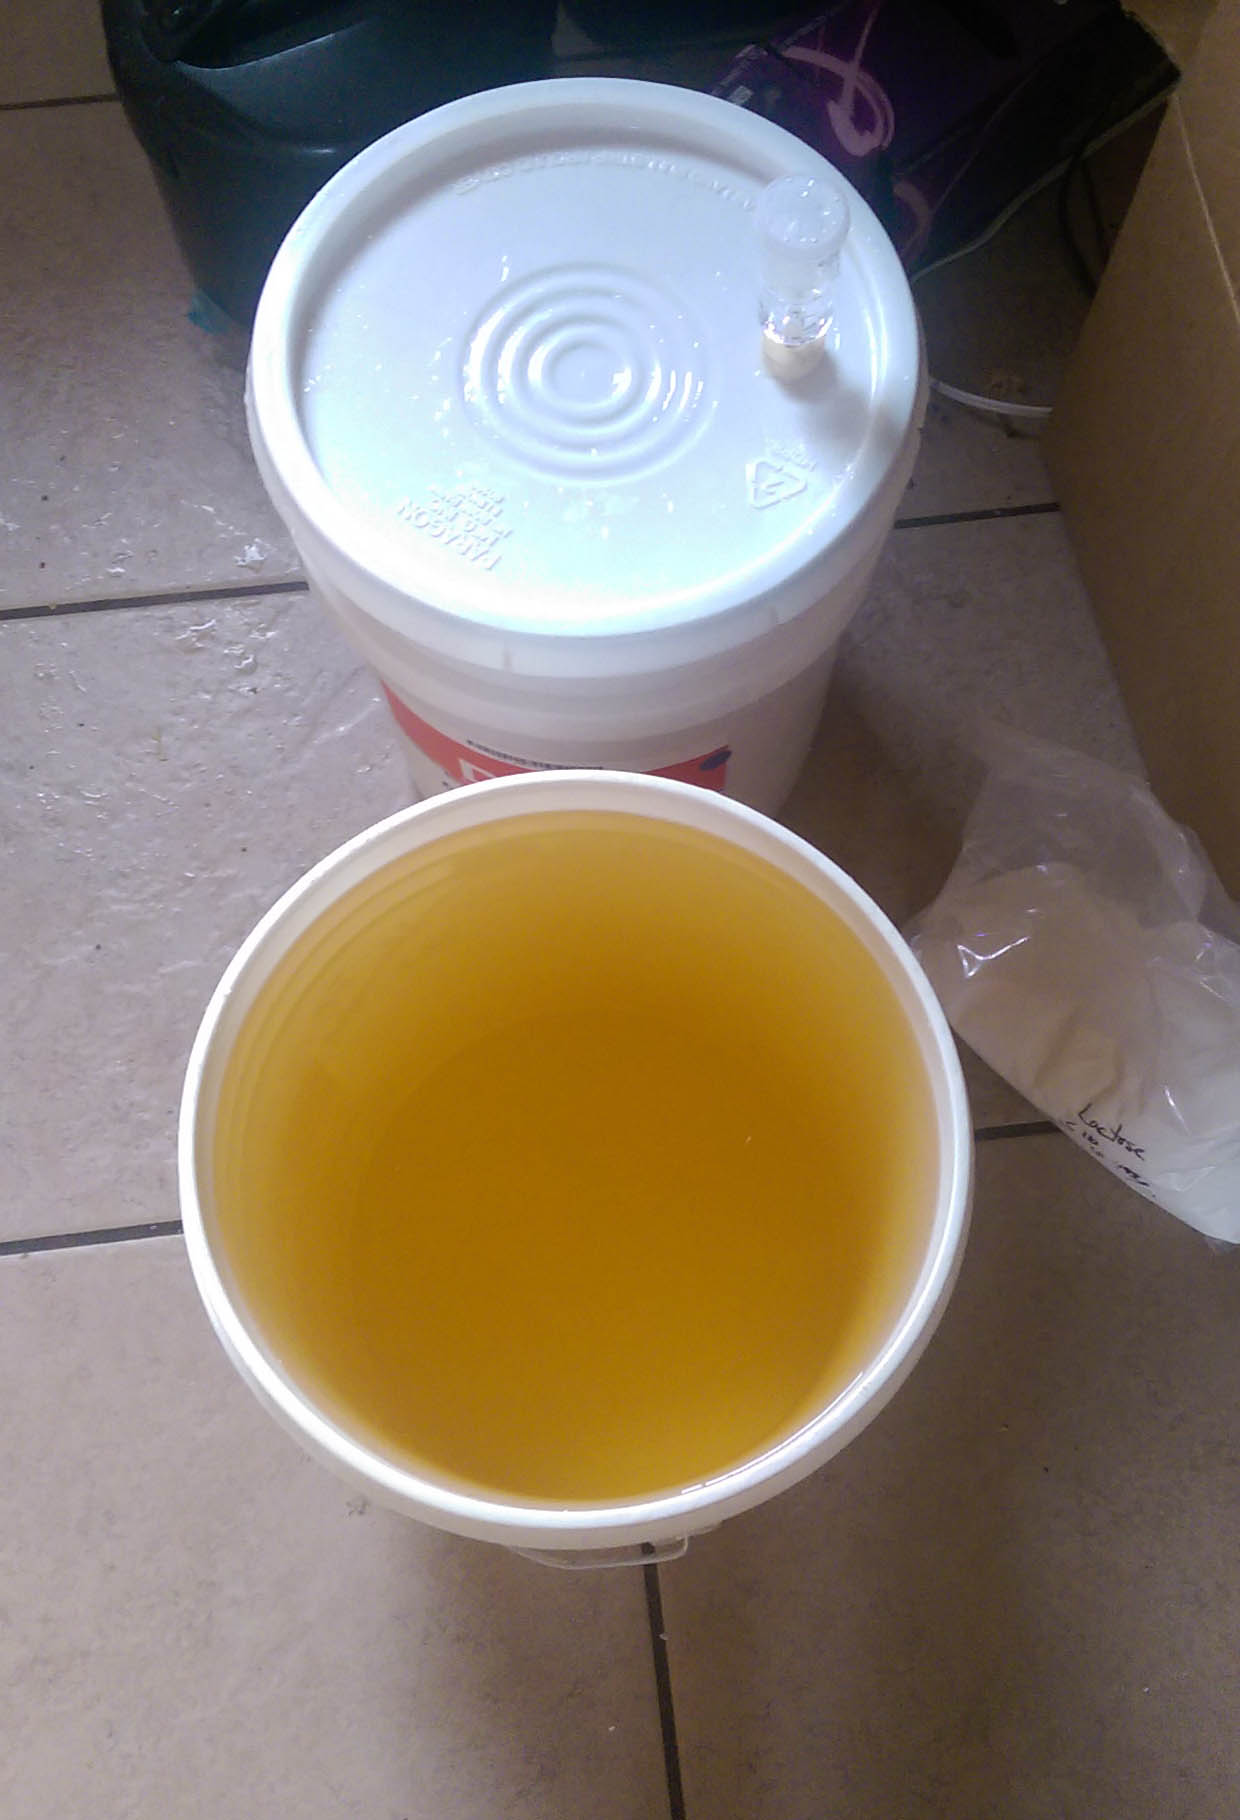
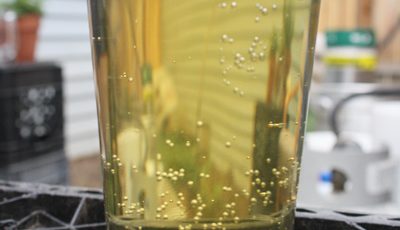
I have 15 gallons of cider (in three separate batches) hanging out against one wall in my kitchen, a big bottle of iodopher sitting in my cabinet and a bunch of bottles sitting outside, behind a shed. I even have lactose and corn sugar to get those batches bottled. (I haven’t reinvested in a capper yet).
Unfortunately, with no dish washer to easily sanitize my bottles, I end up putting bottling off time after time after time.
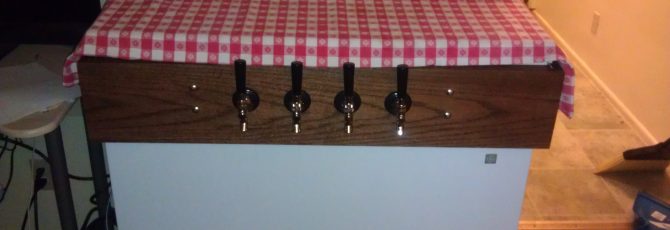
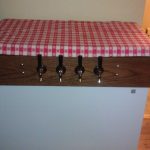
However, when I did have access to a dishwasher, before I moved to kegging (which I cannot recommend enough) and I had friends to consistently drink and brew with, having enough brew on hand was a big issue.
Once we three started brewing, we quickly realized that we liked what we were making, that what we were making took a long time (relatively) and that we needed to be making loads right now for our future selves to have enough to imbibe.
(On another point, if you’re not kegging, getting enough bottles is definitely an issue. Fortunately, when I was living in Reno, there was separated curb side recycling.)
Another of our concerns, as broke young people, was how to maximize our dollars in comparison to our brews. That is, beer is great, but beer can be relatively more expensive to brew, so what about cider?
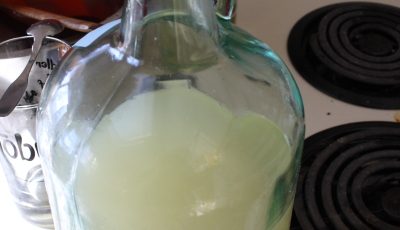
Cider was easy. Cider was super easy. Cider required less effort and took much easier to get 5-gallon buckets (rather than 6-gallon buckets).
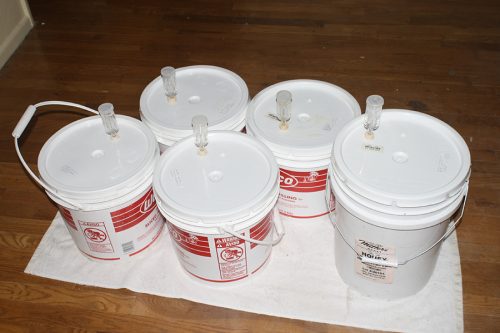
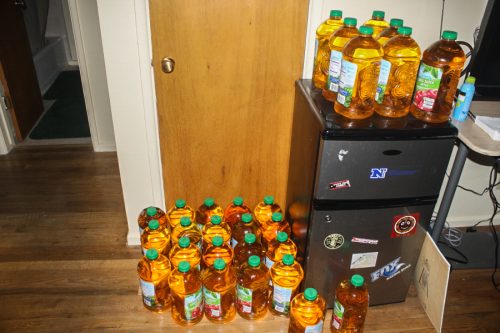
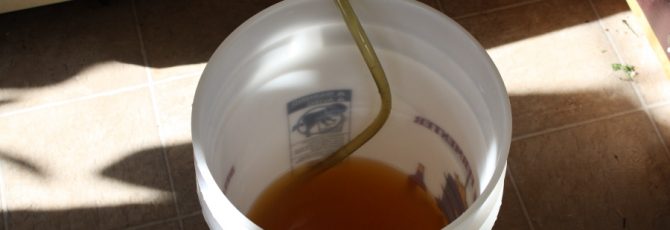
20 gallons of cider in four 4-gallon buckets and one 5-gallon bucket.
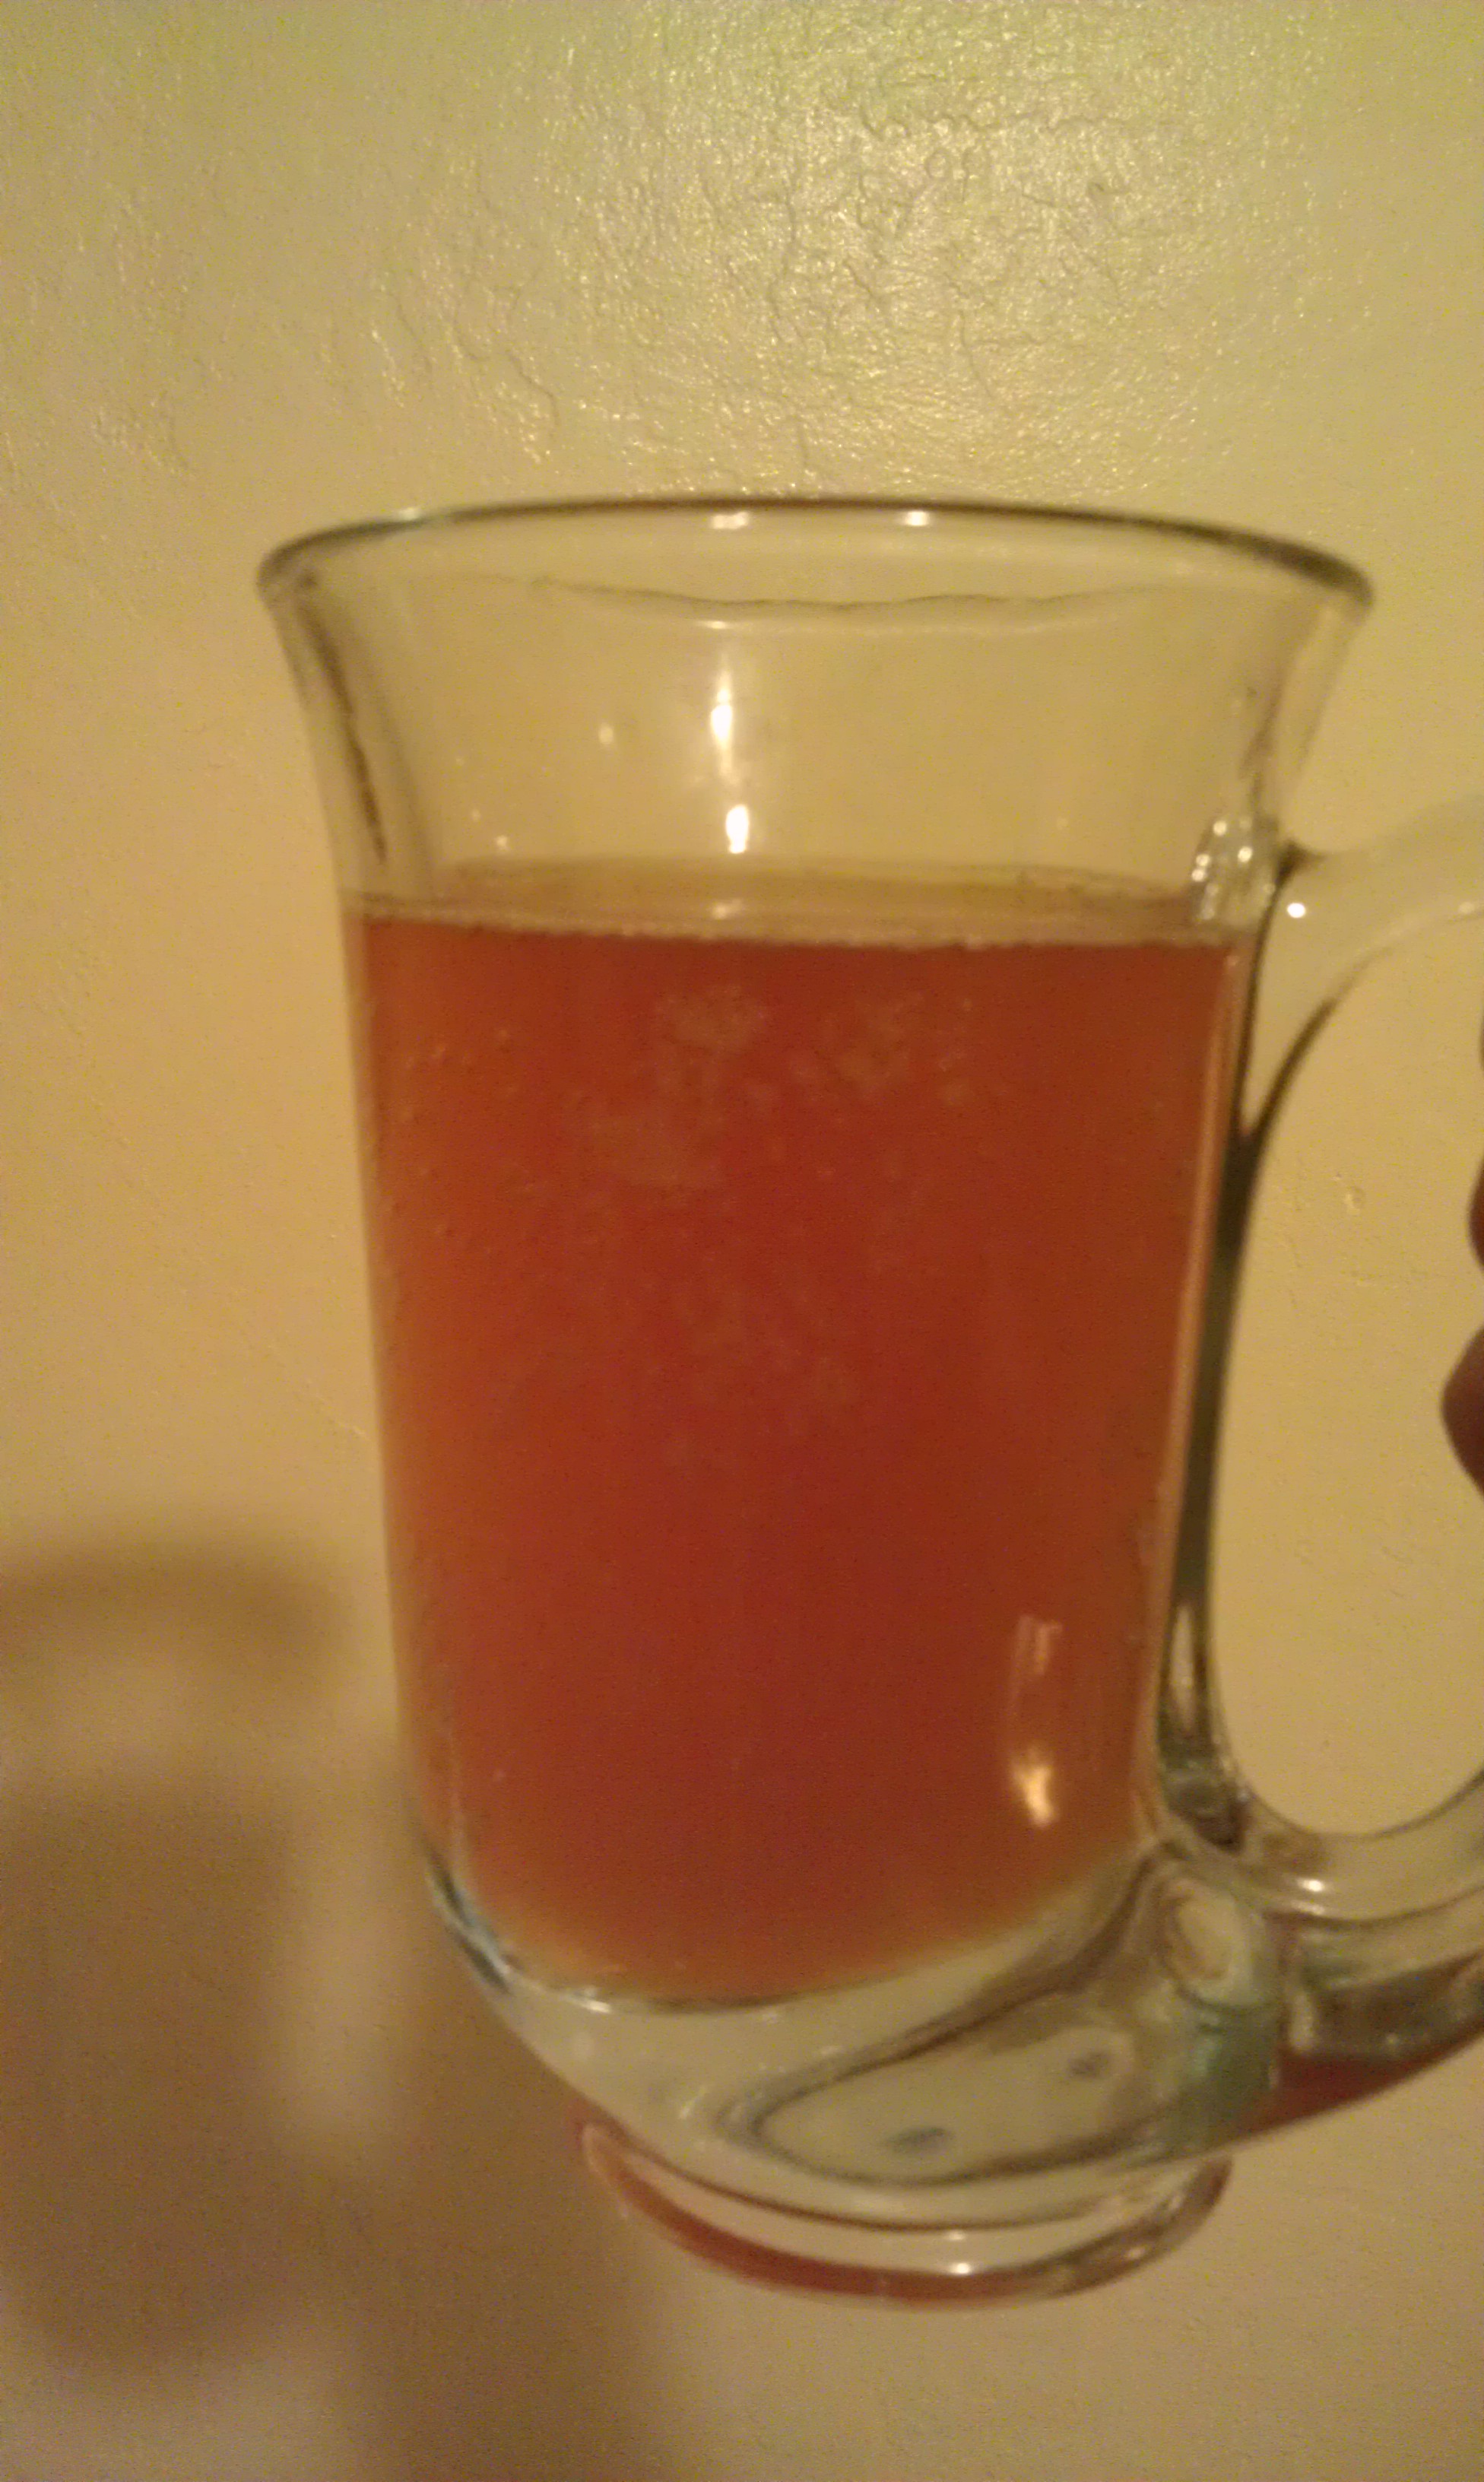
So we started making cider, realized we loved it, then had a problem. There was no more cider left. Between ourselves, our friends, the people who lived in the house, the first five gallons of cider were gone in a heartbeat.