I love fish, which seems to be a shame considering I was born and raised in the inland desert. While smoked salmon was a treat growing up, it has always been an unaffordable luxury in my adult life. Fortunately, there are many alternatives, including one of my favorite fish: the sardine.

Two of the three sardines in a can sit on English muffin halves, straight from the can.

Two of the three sardines in a can sit on English muffin halves, straight from the can.

Lightly smoked canned sardines may not have the exact taste, or consistency, that smoked salmon does. They certainly do not have the nice presentation it does. However, they are cheap (around a dollar a can for three sardines) and make for sustainable and delicious cheap eats.

 In this case, I have been using English muffins as the base, although bagels or bread would certainly work as well. That and some cream cheese. Two adjuncts, capers and red chopped red onions, as seen in cream cheese and lox preparations, make good companions. Sometimes I like them, sometimes I like it plain.

That’s all there is to it. Kippered herring is also a good choice, as are other smoked canned fish.

Three sardines come in a can but usually one sardine is sufficient to cover an English muffin so I save the third for the next day.

The sardines' supple flesh has been spread over the muffins.

The sardines’ supple flesh have been spread over the muffins.

Since I’ve been unfortunately bereft of cash, I’ve moved much of my diet over to the produce that’s on sale for the week and brown rice. Brown jasmine rice, to be exact. The other part of my diet is using up whatever I have in the refrigerator. Recently it has been small dill pickles.

Eating so much rice quickly (soon I will move on the quinoa and the bulgur wheat I have stored) means I have to mix up what I’m doing with the rice. Early in the month, I made a conglomeration of black beans (I had cooked in the slower cooker,) chorizo and brown rice with ample amounts of onions, (home-made) salsa and Taptio (not home made.)

Curry rice with a wee bit of cilantro on top.

Curry rice with a wee bit of cilantro on top.

I then moved on to the stir-fry route with a failed General Tso’s chicken, made with broccoli. The sauce (made with apricot preserves) did not come out at all. (The point of the dish, to me, is the sauce, not the meat.) I considered it a failure. That left me with extra rice and no eggs. I didn’t want to just fry the rice — no eggs. Instead, I dug through the quickly-emptying refrigerator for my big container of yellow curry paste. Two pounds, to be exact, of spicy goodness. I poured some oil into the cast-iron skillet, put the curry in, let it disintegrate some and then threw in the rice.

Curry paste

Curry paste!

Had I other vegetables, or had I remembered the just-bought sack of onions sitting with the potatoes, I would have thrown them in. Good contenders range from potatoes to eggplant to broccoli and sprouts, peppers and tomatoes and squash. I then made a hole in the center of the rice, cracked for eggs, cooked and mixed them into the rice. I cut up cilantro I had bought for the purpose and threw it in, leaving a little extra to be used as a un-cooked garnish.

It serves its purpose. Now only, if I had vegetables left.

If you’re looking for a little extra somethin’-somethin’, then consider making some dill-heavy tzatziki to go with the curried rice.

This article was originally posted on March 29, 2013 on my homebrew website, Fat Grey Tom’s Cider. It has been re-posted here with the same time stamp.

Leo, Bryce and I are products of the late 80s and early 90s. When we were born has informed both our choices in diction and our nomenclature decisions, aka, references. The banality of evil is certainly, to a degree and extent, borne out of the History Channel of our childhood’s and its devotion to World War II. Certainly, the time I spent in Germany and my obsession with the German language and culture has influenced both our brewing and our terms, too.

Leo has said the three of us make up, through our various quirks and proclivities, interests and designs, gesticulations and interests, a single 1950s wife.

What this has to do with beer should certainly be explained: Leo wanted to make a domestic (American) golden ale. Not even a pale ale with its higher alcohol content, but rather, a domestic American beer. He made up the recipe extemporaneously at our local homebrew store. The beer was supposed to be a domestic. Together, we three brewing brothers, make up . . . domesticity itself. I’ve been told countless times I’d make a very good wife to some man some day, because of my love of cooking, of hosting, child-rearing, etc. Not to say I disagree. I don’t doubt I’d make a great housewife. I even love a good soap opera, albeit, in German, the language of true Liebe.

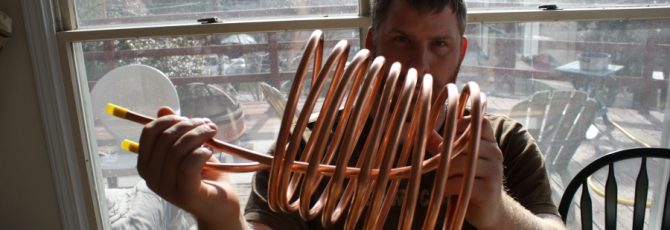
When it came to brewing Voltron, the three of us combined into . . .

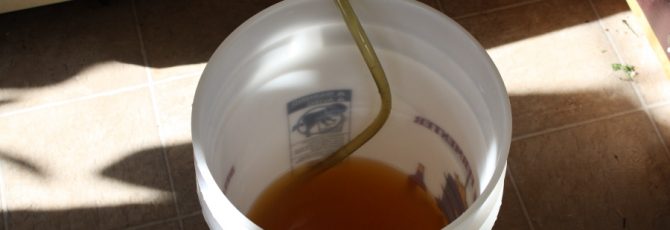
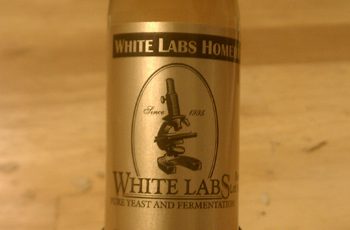
We wrote the ingredients down and the process was the same as always, except we did not write the yeast down. We’ve assumed, through elimination and cross reference with the one-gallon cider batches fermenting in my closet, that the yeast was the Burton Ale Yeast from White Labs but we’re not sure. Maybe it’s the London Ale Yeast.

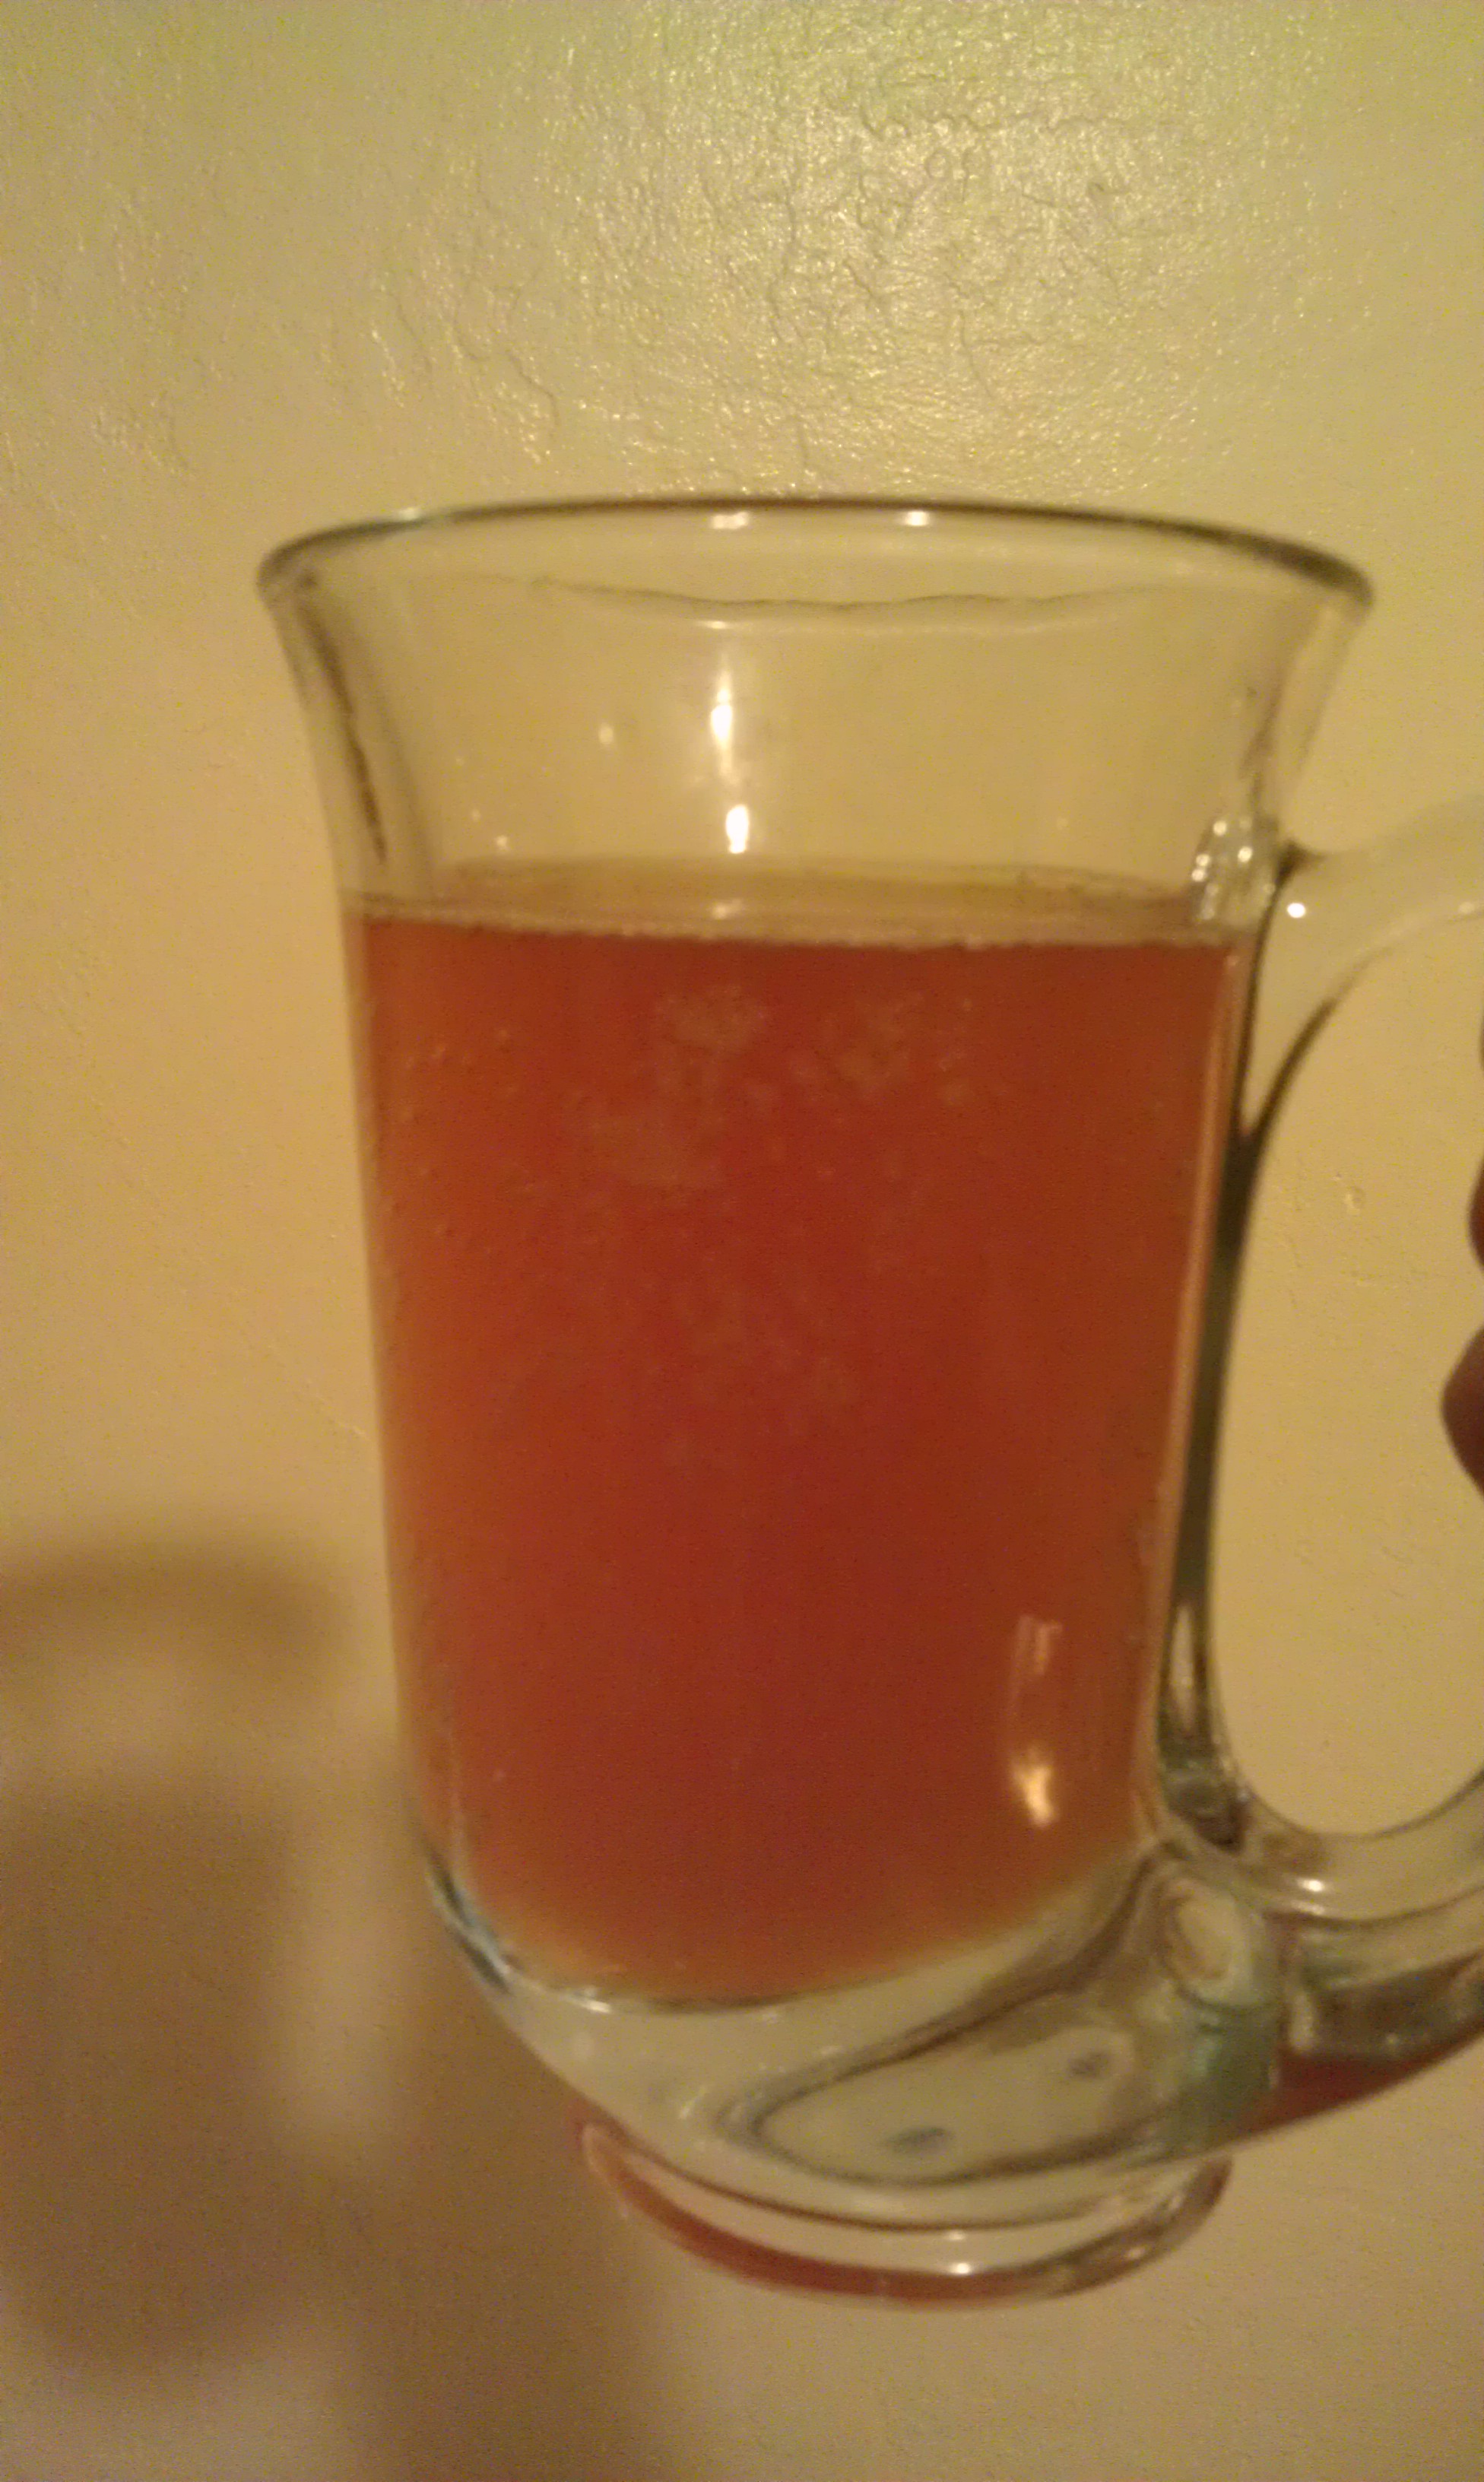
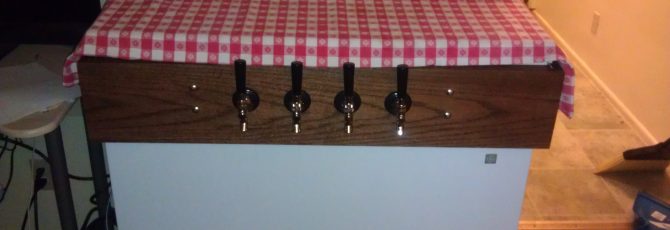
Regardless of which yeast it is, the beer itself (a truly beautiful amber color) has been infected. It’s not a bad infection, it’s a pleasant, sour infection but an infection none-the-less.

The beer is carbonated and kegged and has been quite a hit so far, although, it seems everything in the keg that doesn’t taste terrible is a hit.

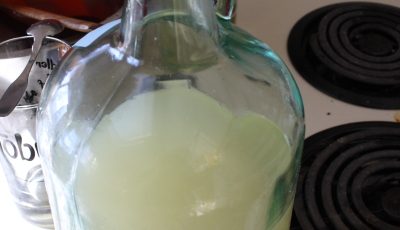
The plan is to culture whatever we managed to create and both remake that recipe and also make something new. It’s a good infection, one we can harness into a whole new yeast strain and possibly bacteria strain through washing and culturing. Next up for that combination, we’re thinking, is something with fruit.
This is for a five-gallon batch.

Ingredients:
1 lb caramel 60L
1/2 lb Caramunich
1/2 lb flaked barely

6.6 lbs light liquid malt extract

Hops:
1 oz Fuggles
1 oz Cascade

There you have it. The Voltron. (We’re not sure what the hops schedule is so . . . Make it up.)

The Voltron in low light

The Voltron in low light.


This article was originally posted on March 25, 2013 on my homebrew website, Fat Grey Tom’s Cider. It has been re-posted here with the same time stamp.

One of our local homebrew stores was having a sale on yeasts a month, or maybe longer, ago. The yeasts were about to go out of date so they were marked down and low and behold, they were not many common yeasts. In fact, they were all White Labs vials, four of them to be exact. So, I figured if we didn’t use them immediately for beers, we could also use them in a ciders before they went and and see what happened and then wash the yeast, and reuse it when we’re ready to make X, Y or Z with them.

Our recipe is as follows:

  • 4-ish gallons of Great Value Apple Juice
  • 730 grams of corn sugar (2 lbs per 5 gallons, our normal Apfelwein ratio)
  • Yeast!

The yeasts are:

  • White Labs Berliner Weisse, WLP630
  • White Labs Saison II, WLP566
  • White Labs Belgian Wit, WLP400
  • White Labs English Cider Yeast, WLP775
  • White Labs Belgian Style Yeast Blend, WLP575

I also had a White Labs English Cider Yeast that had been sitting in my refrigerator for even longer but was still well within date.

As for the making itself: I boil the corn sugar with a enough water for 5 minutes, stirring until its dissolved, then chuck it into the cider. Sanitation, sanitation, sanitation.

I took industrial bleach and soaked all of the buckets, which had been sitting our for quite some time, and then soaked an additional bucket, which had somehow had its insides covered in algae  Industrial bleach kills all. We washed them out a bunch of times, put iodophor water in and off to the races we went. First, though, we had to drill holes for bucket lids and sanitize them, as well as sanitize the lids.

So, I picked up 20 gallons and cider with the intention of using the gallons for the soon-not-so-great yeasts. Fortunately, we still had four 4-gallon buckets laying around as well as a 5-gallon. We hatched the plan, for five 4-gallon batches of cider, thus consuming the 20 gallons purchased and consuming the five vials of yeast hanging out in the refrigerator. Our calculations were a bit off: We forgot that, in addition to the sugar’s boiled water, a 4-gallon bucket can’t really take four gallons without spilling out the top. Nevertheless, we soldiered one, made our cider sheets, labeled the tops of the buckets (important, because we hadn’t been doing that as often, leading to a case of unknown-yeast cider in the keg, also remedied by the cider sheets) and put them in the spare room.

Our theory is: if they taste great, we keg them. If one doesn’t taste great, this is a super opportunity to try to start mixing ciders and seeing if we can create something tastier, especially because five different ones have all been started at the same time.

I can happily report they’re all fermenting and pressurized.

We’re calling them

“AW #?”
At this point, we really don’t know what batch we’re on and they’re their own, seperate thing, although they are using the Apfelwein (AW) sugar ratio.

Check back in a month!

20 gallons of cider in four 4-gallon buckets and one 5-gallon bucket.

All of the empty juice bottles.

This article was originally posted on March 19, 2013 on my homebrew website, Fat Grey Tom’s Cider. It has been re-posted here with the same time stamp.

After many, many hours of work between the three of us, much hand-wringing over which items to buy and many, many trips to the store to figure out the correct-sized chest freezer, the kegerator, or keezer, is complete.

We’re running a four-tap system which means we have four Cornelius kegs jammed into the inside of the chest freezer. Bryce and Leo constructed a collar for the lid of the freezer to sit on, extending the height of the total unit. This was important because we invested in two 10-pound CO2 tanks with double regulators each. These sit on the hump of the compressor and allow us to interdependently control the level of CO2 going into each keg. Our cider keg is set at a much higher pressure than the rest.

The entire system is a dream and amazing for hosting parties, so long as no one bumps into the taps which, in a cramped space such as mine, is a real issue. We’ve yet to tackle the issue of a drip tray. At the moment, the drip tray could also be called a scrap towel folded and sitting beneath the taps.

Our next project, as the cider keg nears running dry, is to ferment five 4-gallon batches of cider with different yeasts so we can just start putting them in the keg once the past batch has been drunk. This also leaves the option of mixing finished ciders open and allows us to try a series of different yeasts we have but have not yet used.

The hope is, if one of the ciders doesn’t turn out, we’ll be able to mix it with one of the others.

All in call, I suggest a 4-keg system with a collar. At least, that’s what worked for us. Although the financial output at the outset is hefty — very hefty — it’s worth it.

This article was originally posted on Dec. 22, 2011 on my homebrew website, Fat Grey Tom’s Cider. It has been re-posted here with the same time stamp.

We secondaried both AW #5 and AW #5C. These two, unlike any other ciders we’d made before, were made with the Windsor ale yeast suggested to us by our LHBS (Local HomeBrew Store.)

Sadly, everything tasted like salt to Bryce and I. Sadly, we’re not entirely sure why. Which means the jury’s still out.

But over all, it seems to have been a failed 6-gallons of experiment.

This article was originally posted on Dec. 21, 2011 on my homebrew website, Fat Grey Tom’s Cider. It has been re-posted here with the same time stamp.

Today, Dec. 21, marked a great day. A day on which Bryce and I sampled the fruits of our and many a chemist’s labors. They were sweet, they were sour and smelled like ham.

I had limeade in the refrigerator. We calculated out the amount of sugar we needed to add to get it up to snuff with a normal 1/2 gallon cider’s sugar. We boiled the sugar, added it and put in Lalvin EC-1118 yeast at the same time we started a new batch of Apfelwein, both a normal and an experiment.

Right before, because we had boiled the sugar, water and limeade together, we used the wort chiller for the first time. And I can attest, it works brilliantly. I can also attest, our local Homebrew Store was selling an inferior wort chiller (fewer coils at a lesser gauge) for nearly $75.

Woah. Not cool.

Now, we wait a month to see how the limeade fairs.

Hurrah!

We put all the info into our experimental sheet printout. If you’d like a (blank) copy for yourself, here it is: Experiment Sheet

The Limeade wine, after having its yeast pitched.

The wort chiller in the limeade pot.

Flickr gallery of the day’s winemaking: http://www.flickr.com/photos/wcowperthwaite/sets/72157628526106323/with/6554714965/

This article was originally posted on Dec. 12, 2011 on my homebrew website, Fat Grey Tom’s Cider. It has been re-posted here with the same time stamp.

After our near-debacle with the pumpkin beer, we decided that a change was in order. And that change was a wort chiller: no more messing with huge quantities of pre-prepared water, of waiting for things to cool, of putting the glass carboy into a giant tub of water while it’s freezing outside.

Eric decided we were done with screwing around, and I agreed and decided we were going to collectively bite the bullet.

The biggest cost of making the wort chiller was the cost of the 25 feet of pipe. All told, it came in at about $48, divided over four people.

We took a carlo rossi jug and wrapped the copper coil around it. We put the rubber tubing over the top of both ends of the copper tubing and fastened and tightened them with fasteners. We then put a swivel barb hose adapter at one end. Fastened it. Voila!

We were done.

How cool is that!

You can do it too! Check out the pictures.

And make sure NOT to crimp the copper tubing.

Uncoiling the copper pipe so we can recoil it.

The chiller once it’s been wrapped around the Rossi jug. Next up: attaching the tubing.


Tightening the fasteners


Clearing out the pipes.


All the pictures on Flickr


This article was originally posted on Dec. 5, 2011 on my homebrew website, Fat Grey Tom’s Cider. It has been re-posted here with the same time stamp.

We secondaried Leo’s Stout, batch #2. The grains and trub settled to the bottom and the yeast settled and compacted on top of it.

We used Leo’s jacket to protect the carboy from sunlight and it seemed it deserved a hat.

The stout provided a problem, however: it was primaried in the garage, which gets much colder than the rest of the house. Considering this, the new batch of pumpkin is being primaried in the work room and the stout is being secondaried for a lot longer, for about two weeks or so, so the yeast can finish the job it didn’t get done initially. Because it is an ale and we did put it in too cold of conditions. Our bad!

However, now, it’s sitting in a bucket in the warm.

I think we learned our lesson.

All the pictures here, on Flickr, all released under a creative-commons attribution-only license.


Look at that yeast cake! Look at that trub!


Trub at the bottom. Big yeast cake mixed with sediment.

This article was originally posted on Nov. 24, 2011 on my homebrew website, Fat Grey Tom’s Cider. It has been re-posted here with the same time stamp.

Leo’s Stout #2,  has its genesis in the original stout we brewed. As you might imagine.

This time, however, we boosted the batch size to around six gallons to take advantage of our 6.5 gallon glass carboy.

Can you say blow-off tube? Because we have one.

Oh yea. We feel pimpin’. Nay. We be pimpin’.

Much like for the first Stout, we used a White Labs Irish Ale Yeast, pictured below.

We’ll be using this same yeast to ferment a 2 1/2 gallon batch of cider done in the most lovely of Mr. Beer’s with a new spout. Which has been gorilla glued into submission.

Our next batch will be a pumpkin beer.

White Labs Irish Ale Yeast. Done us well so far.